
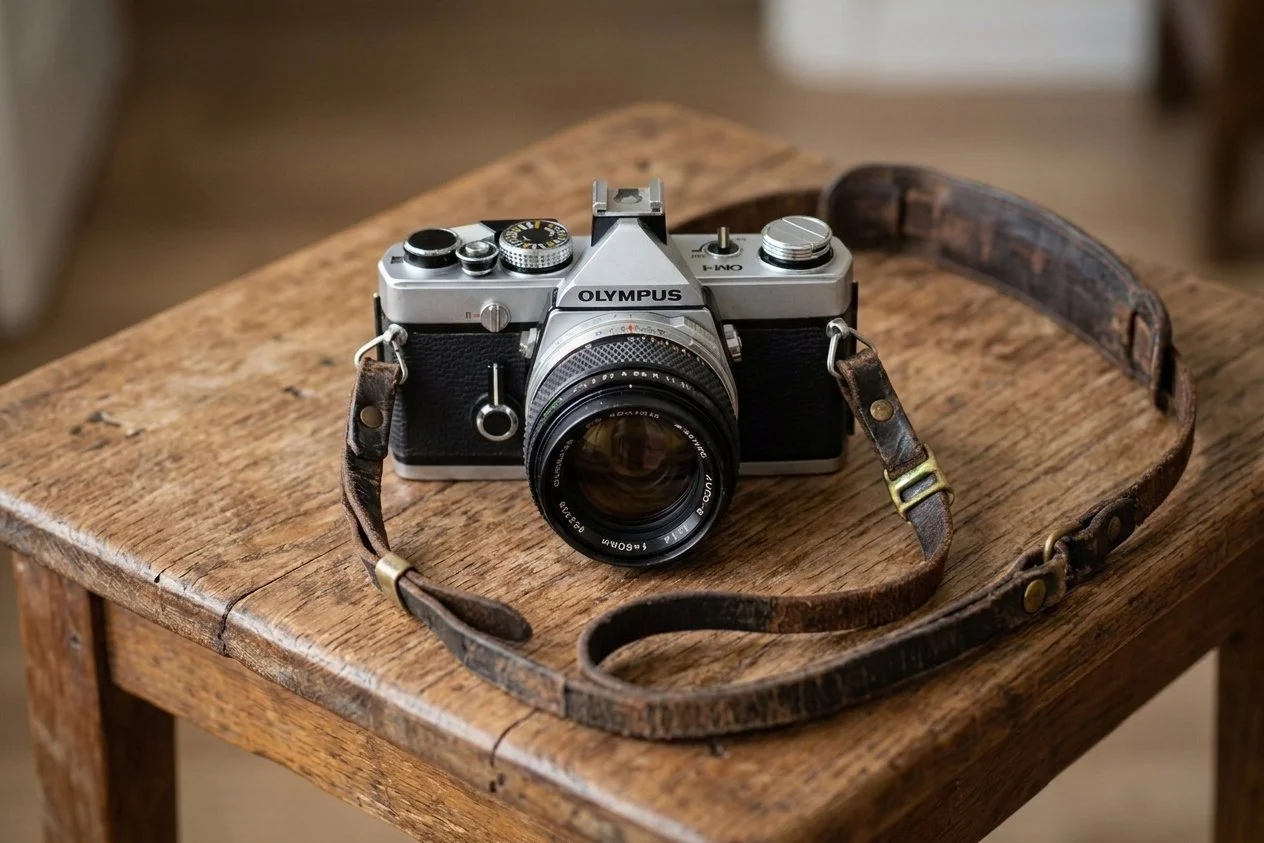
The original 1972 Olympus OM-1 35mm film camera.
Note: This article contains affiliate links. As an Amazon Associate I earn from qualifying purchases. If you purchase gear through these links, I may earn a small commission at no extra cost to you. I only recommend equipment—like my OM-1, MSM Nomad, and M.Zuiko lenses—that I personally rely on in the field.
Table of Contents
Introduction: From 1972 35mm Film to the Digital OM SYSTEM OM-1
Is Micro Four Thirds Professional? MFT vs Full-Frame for Landscapes
Wide-Field Astrophotography & Starry Sky AF with Micro Four Thirds
Deep-Sky Astrophotography: Static Tripod vs. Move Shoot Move Star Tracker
Best Telephoto Lenses for Micro Four Thirds Landscape Photography
Lightweight Camera Gear for Senior Photographers & Outdoor Hiking
1. Introduction: From 1972 35mm Film to the Digital OM SYSTEM OM-1
The year was 1978 when I bought my first real professional camera: the original Olympus OM-1, first introduced in 1972. At the time, standard 35mm SLRs were heavy, cumbersome boxes that felt like carrying brickwork around your neck, like the Nikon F5. Picking up the OM-1 was an awakening. It was compact, beautifully sculpted, silent in hand, and built with precision engineering that made shooting feel like second nature.
Back then, photography was an immersive home craft if you opted to do your own black and white film processing, which most of us did back then. If you shot color film it usually went to a commercial lab or a 1-hour drugstore photo processor if quality control wasn’t important. I commandeered one of our family’s three bathrooms, turning it into a darkroom. Late into the evening, I would stand under the amber glow of a safelight, breathing in the sharp aroma of developer and stop bath, watching black-and-white prints slowly bloom in the chemical trays. That sanctuary remained intact until 1984, when "baby number three" arrived and the bathroom darkroom was unceremoniously dismantled to make room for the expanding family.
As the years marched on and the digital era dawned, I strayed from the fold once—spending about two years, roughly 15 years ago, shooting with a bulky Nikon setup. While the images were fine, the joy of carrying the gear was missing. The system was heavy, loud, and demanding. It felt less like an extension of my vision and more like physical labor.
I returned to Olympus (now OM SYSTEM) as soon as I realized what I had traded away. Today, at 77 years old, I shoot with the digital flagship OM SYSTEM OM-1. Sitting on my desk next to my vintage film OM-1MD and OM-2, the modern digital OM-1 shares far more than just a model number with its classic predecessor; it inherits the exact same core philosophy: give the photographer maximum creative power in a tool lightweight enough to carry anywhere on Earth.
2. Is Micro Four Thirds Professional? MFT vs Full-Frame for Landscapes
When legendary designer Yoshihisa Maitani created the original 35mm film OM-1 in 1972 (initially dubbed the M-1 before Leica requested a name change), he faced fierce pushback from camera manufacturers who claimed a true professional SLR had to be large to be durable-you know, “manly”. Maitani proved them wrong by redesigning internal mechanics, dampening mirror slap with air cylinders, and placing shutter controls at the base of the lens mount so photographers could operate the camera by feel without taking their eye off the viewfinder.
That same misinformed pushback persists in digital photography today under a different moniker: "Micro Four Thirds sensors are too small; they’re just toys."
Dismissing Micro Four Thirds (MFT) as amateur reveals a fundamental misunderstanding of modern optical engineering and sensor physics. The 2x crop factor of the MFT format is not a compromise—it is a massive structural advantage for active photographers!
Feature / Metric, Micro Four Thirds Advantage vs Full-Frame Equivalent Challenge:
Reach vs. Optical Weight. In the MFT world a 400mm lens yields an 800mm equivalent field of view in a hand-holdable 1.1kg package. To achieve that same 800mm native lens in the full frame world weighs 3.5kg+ and requires a dedicated heavy tripod setup.
Depth of Field Efficiency: f/4 on MFT provides comparable full frame f/8 depth-of-field, keeping landscape foregrounds and backgrounds sharp without heavy focus stacking. What you give up with MFT is the buttery bokeh that’s possible with full frame at wide apertures. However, for landscape and astro photographers, we’re not even looking for bokeh, we want sharp.
Thermal Dissipation: Compact sensor mass allows rapid readout speeds without sensor overheating during long exposures or rapid bursts.Larger surface area generates significant heat; prone to thermal noise during long night exposures. Another win for MFT.
Sensor Stabilization: Lightweight sensor mass of MFT cameras allows 5-axis IBIS systems to deliver up to 8.5 stops of stabilization.Heavier sensor mass limits pitch/yaw compensation speed, requiring rigid tripod use much sooner. This, for me, might be the biggest advantange over full frame with my OM-1 because not having to carry around a sturdy tripod for many shooting situations gives me mobility freedom like never before.
MFT is built from the ground up to solve real-world field problems. When you are scrambling up a rocky ridge or setting up gear in freezing wind-driven rain, absolute megapixel count matters far less than weatherproofing and weight of my MFT kit.
3. The Ultimate All-in-One Lens: M.Zuiko 12-100mm f/4 IS PRO
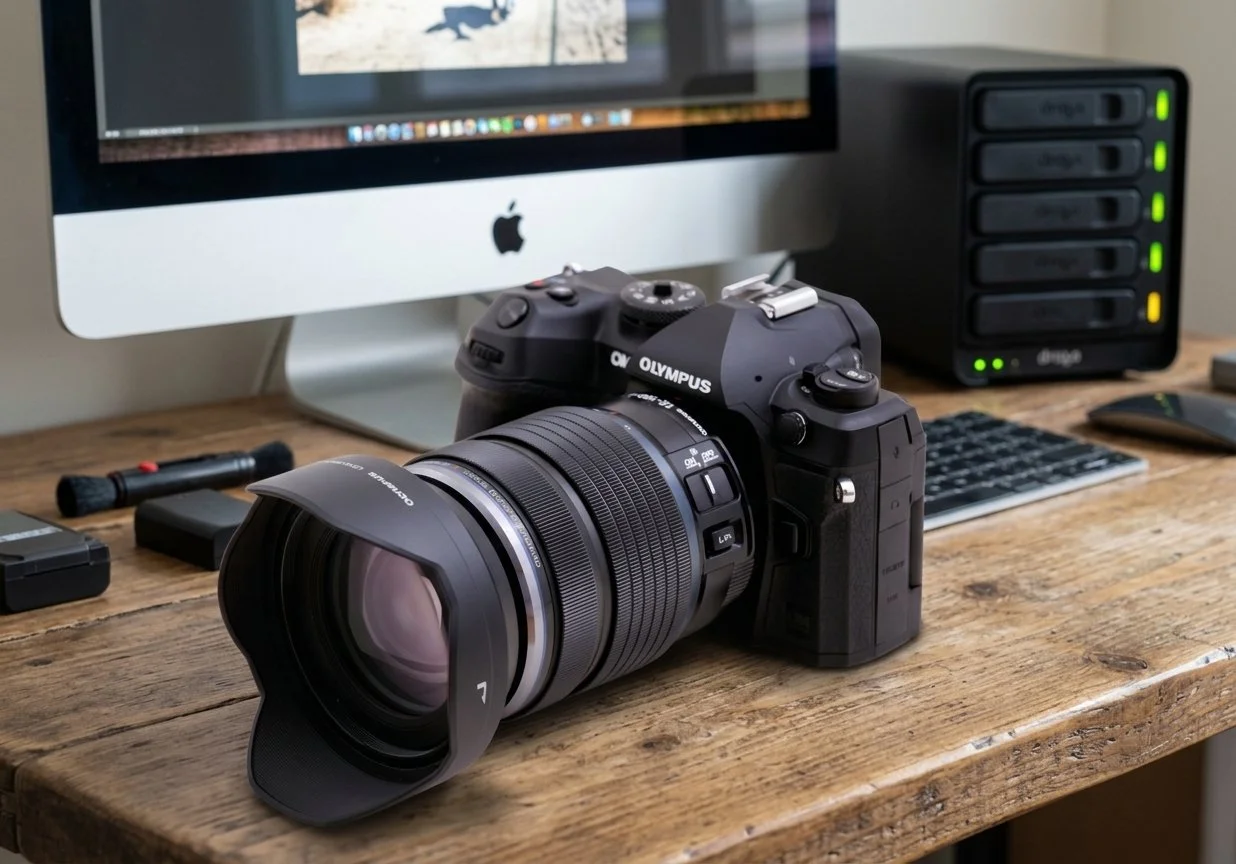
My 90% Lightweight Kit
If you were to look at my digital OM-1 right now, in a surprise inspection, there is a 90% chance you would find the M.Zuiko 12-100mm f/4 IS PRO attached. I bought this lens pre-owned last year at MPB.com, and it has fundamentally changed how I explore landscapes.
In traditional photography, travel zoom lenses with an 8.3x zoom range were notoriously flawed compromises—soft in the corners, slow to focus, and optically weak. The 12-100mm f/4 IS PRO completely shatters that stereotype. Giving a 24-200mm full-frame equivalent field of view, it maintains razor-sharp edge-to-edge rendering across its entire focal range, even wide open at f/4.
Why f/4 instead of f/2.8 for everyday shooting? Because when paired with the OM-1's In-Body Image Stabilization (IBIS), the Sync IS system allows the lens and body stabilization mechanisms to talk to each other in real-time. The result is an unheard-of 8.5 stops of stabilization compensation.
I can regularly shoot handheld exposures at 1 or 2 full seconds without a tripod, keeping my camera ISO low at its native base value and securing crisp, noise-free images. I only switch to my f/2.8 PRO lenses when the sun goes completely down for astrophotography or extreme low-light situations. For 90% of my landscape and outdoor work, the 12-100mm f/4 IS PRO is the single most versatile optical tool I have ever owned.
4. Computational Photography: The Micro Four Thirds Superpower
While traditional camera makers have relied on making sensors physically larger to push image quality forward, OM SYSTEM tackled the challenge through software and processor integration. Driven by the TruePic X dual quad-core engine, the OM-1 processes image data in real time, executing feats that traditionally required expensive physical filters, heavy tripods, and long sessions in post-processing desktop software.
Handheld High Resolution Mode: 50MP/80MP without the Medium Format Bulk
For landscape photographers who want maximum resolution for massive fine-art prints, the OM-1 features Handheld High Res Shot (HHHR).
When you press the shutter in HHHR mode, the camera captures 12 individual frames in micro-second intervals while shifting the sensor slightly. The camera’s algorithm analyzes sub-pixel movement between shots, aligns the frames, and composites them into a single 50-megapixel RAW file (or up to 80-megapixels when mounted on a tripod).
Because the algorithm samples full RGB color information at every pixel position, color moiré is eliminated, dynamic range increases by up to 2 stops, and luminance noise drops dramatically. You get near medium-format image quality needed for giant landscape prints while standing on the edge of a mountain trail holding the camera entirely by hand! I find this incredible and the files this camera produces are impeccable!
Live ND: Filterless Long Exposures in Bright Daylight
Fumbling with dark glass neutral density filters on a cold, windy morning is an inefficient way to shoot landscapes. Screw-on ND filters risk cross-threading, resin drop-in filters attract dust, and both introduce color casts or vignetting. Plus, they break when dropped.
The OM-1 and OM-2 solve this with built-in Live ND. By combining rapid multi-frame exposures electronically, the camera simulates physical neutral density filters up to ND64 (6 stops). You can turn a rushing mountain stream into a silky ribbon of water at noon without taking a single filter out of your bag, and make your captures handheld, in most cases.
Even better, the EVF displays the motion blur in real time before you take the shot. You see exactly how smooth the water or clouds will look, at different shutter speeds, before the shutter even moves.
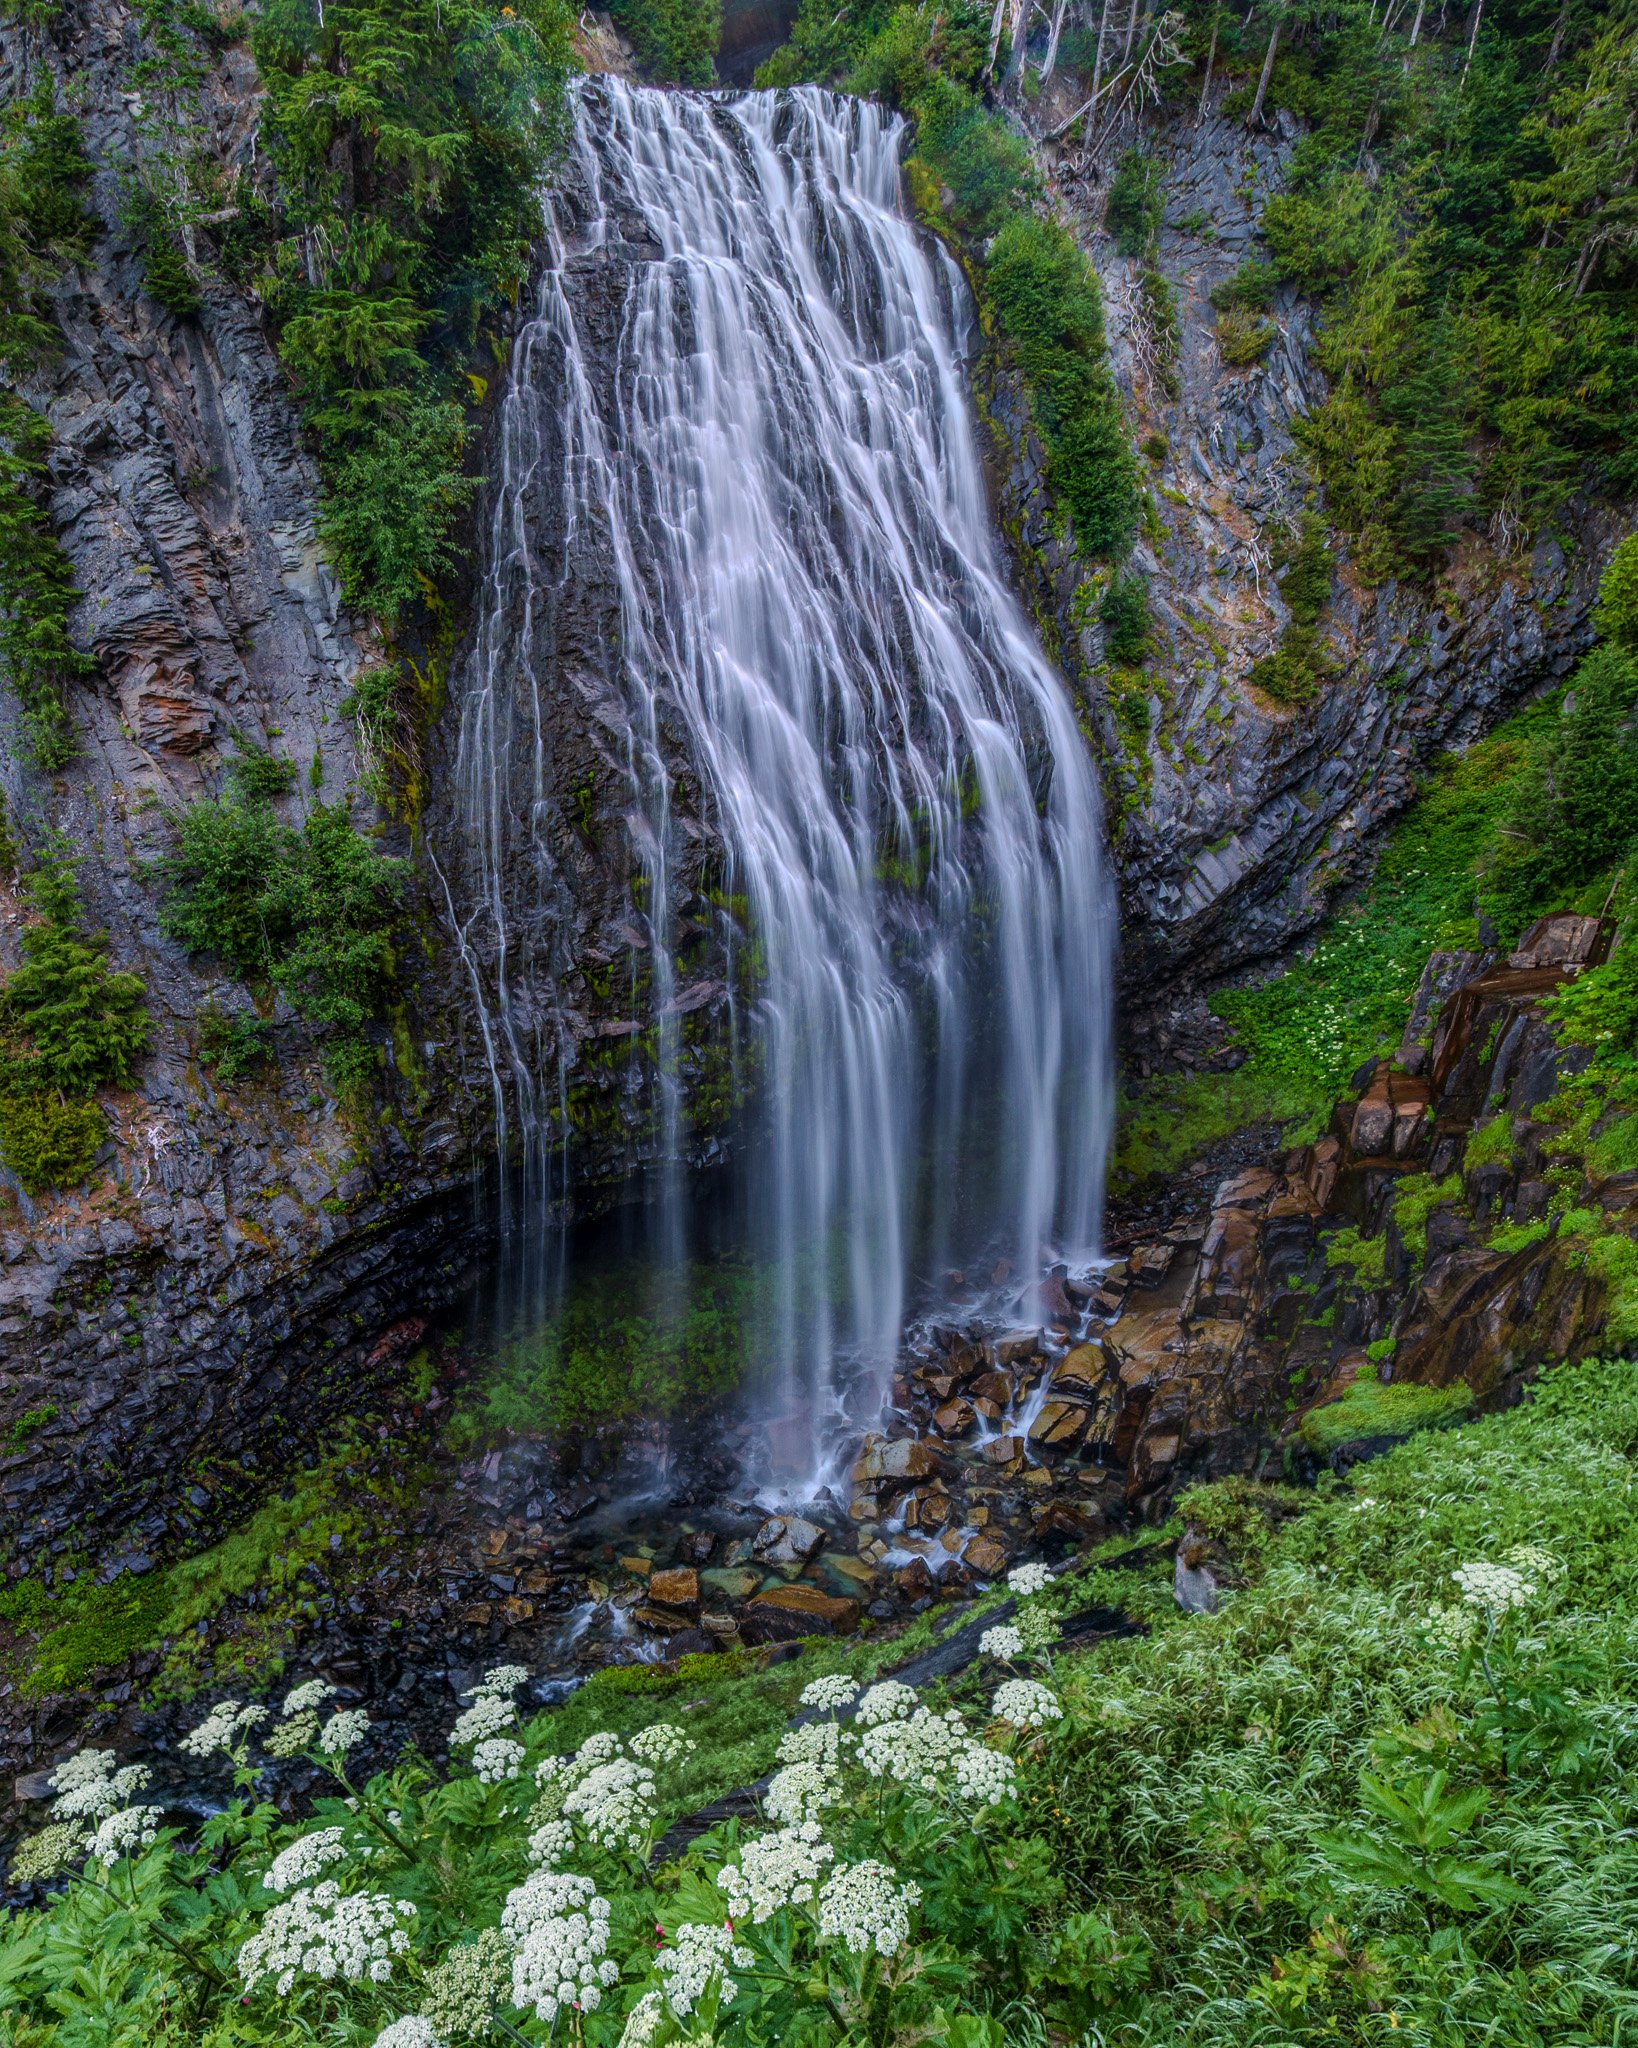
Narada Falls, Mt. Rainier National Park
I shot this handheld using the internal ND filter mode of the OM-1 to render the beautiful silky water.
Live Composite: Real-Time Light Painting and Star Trails
Traditional long-exposure night photography is often a game of blind estimation. If you expose a single frame for 30 minutes to capture star trails, ambient lights from nearby towns or moonlit clouds will often blow out the highlights, ruining the entire shot.
Live Composite is one of those features that feels like absolute magic the first time you use it. Instead of guessing your exposure during a traditional long exposure and risking a completely washed-out scene, Live Comp takes a quick baseline photo of your static foreground first. From there, as the camera keeps shooting, it only adds new light to the picture. That means you can leave the shutter open for minutes—or even hours—to build up rich, beautiful star trails, capture lightning, or paint with light, all while keeping your background crisp and perfectly exposed. The best part is watching the shot build right before your eyes on the back screen, so you can stop it the exact second it looks just right.
Star Trails using OM-1’s Live Composite mode.
Live Composite fundamentally changes long-exposure night capture:
The camera takes a baseline exposure (e.g., 1 second at f/2.8, ISO 1600) to lock in the background brightness.
Subsequent exposures are continuously taken at that same shutter speed, but the camera only adds new light points to the image composite.
As stars travel across the night sky or car headlights sweep down a canyon road, you watch the light trails build line-by-line on the rear LCD monitor. (So fun to watch)
When the star trails reach the exact visual length you want, you simply tap the shutter button to stop exposure. The foreground stays perfectly exposed without blowing out.
Photographing lightning is another use case for Live Composite mode with the OM-1. Monument Valley, Utah
5. Wide-Field Astrophotography & Starry Sky AF with Micro Four Thirds
My interest in astrophotography has experienced a total renaissance over the last year. Standing under a canopy of stars at 2:00 AM is deeply peaceful, especially when your camera gear makes the technical execution so straightforward.
Starry Sky AF: Ending the Manual Focus Nightmare
The OM-1 completely eliminates manual night-focusing guesswork with Starry Sky AF. Finding pinpoint manual focus on a microscopic white dot on a dark screen in sub-zero temperatures used to test the patience of even master photographers. No need for that ritual any longer.
I was on a photography workshop recently and was the only participant shooting MFT and using Starry Sky AF to pinpoint focus on the stars. The other participants were gobsmacked that I attained focus so quickly with the touch of a button!
Starry Sky AF uses specialized algorithms tailored specifically to detect star point contrast against deep space backgrounds:
Accuracy Priority: Measures tiny star structures across multiple frame-scans to ensure tack-sharp focus down to pinpoint perfection. Designed for static tripod setups or tracked deep-sky imaging.
Speed Priority: Rapidly locks onto bright stars in seconds, ideal for handheld or quick wide-angle astro-landscape framing when time or changing conditions demand speed. To be honest, I’ve never used this mode as I’m always after the most precise focus possible, so have always gone with accuracy priority.
You press the dedicated AF button, the lens moves smoothly, locks onto the stars, gives a reassuring green focus indicator, and locks the focus distance. No test exposures required. No magnifying the screen 10x while shivering.
The Fast f/2.8 Glass: M.Zuiko 7-14mm PRO & 12-40mm PRO
When I put away my 12-100mm f/4 IS PRO for night work, I turn to my fast f/2.8 PRO lenses to gather maximum light:
M.Zuiko 7-14mm f/2.8 PRO (14-28mm Equivalent):
This is my primary lens for sweeping galactic-core vistas. Its ultra-wide angle of view captures the massive arc of the Milky Way, while its optical design keeps stars as razor-sharp pinpoints right into the extreme corners without coma distortion.
M.Zuiko 12-40mm f/2.8 PRO (24-80mm Equivalent):
A fantastic, versatile night lens. At 12mm f/2.8, it gathers huge amounts of ambient starlight while allowing me to zoom in slightly to frame celestial objects tightly against mountain silhouettes or lone trees.
6. Deep-Sky Astrophotography: Static Tripod vs. Move Shoot Move Star Tracker
Capturing deep-sky objects (DSOs) like nebulae and distant galaxies requires long exposure times to collect faint photons. However, because the Earth rotates on its axis every 24 hours, stars quickly begin to streak or "trail" if your shutter stays open too long. This is when it’s time for a star tracker.
Mechanics of Earth's Rotation & Static Camera Position Limits
When shooting from a static tripod, exposure time is limited by sensor crop factor and lens focal length. Under the standard Rule of 200 for Micro Four Thirds:
Max Exposure Time (Seconds) = 200 / Actual Focal Length.
Lens & Focal Length Field of View Max Exposure Time Before Star Trailing spoils your shot:
7-14mm PRO @ 7mm~28 Seconds
12-40mm PRO @ 12mm~16 Seconds
12-40mm PRO @ 40mm~5 Seconds
40-150mm PRO @ 150mm~1.3 Seconds
A static tripod works fine for sweeping, wide-angle Milky Way shots at 7mm or 12mm. However, if you zoom into 150mm to shoot the Orion Nebula, a 1.3-second exposure forces you to crank your ISO to 12,800 or 25,600, introducing high sensor noise and washing out subtle nebular color.
With a star tracker, like the Move-Shoot-Move Nomad, you can greatly extend these times which allow for lower ISO (less noise) and higher signal-to-noise ratio, giving much cleaner RAW files which bring out the more delicate parts of wispy nebulae and other DSO’s. I use, and recommend the optional laser pointer and polar scope to critically align the Move-Shoot-Move Nomad with Polaris.
Tracking with the Move Shoot Move (MSM) Nomad
To bypass the limitations of Earth's rotation, mounting the OM-1 onto a dedicated star tracker like the Move Shoot Move (MSM) Nomad opens up new possibilities. Here’s what that setup might look like when it’s stacked on top of your tripod:
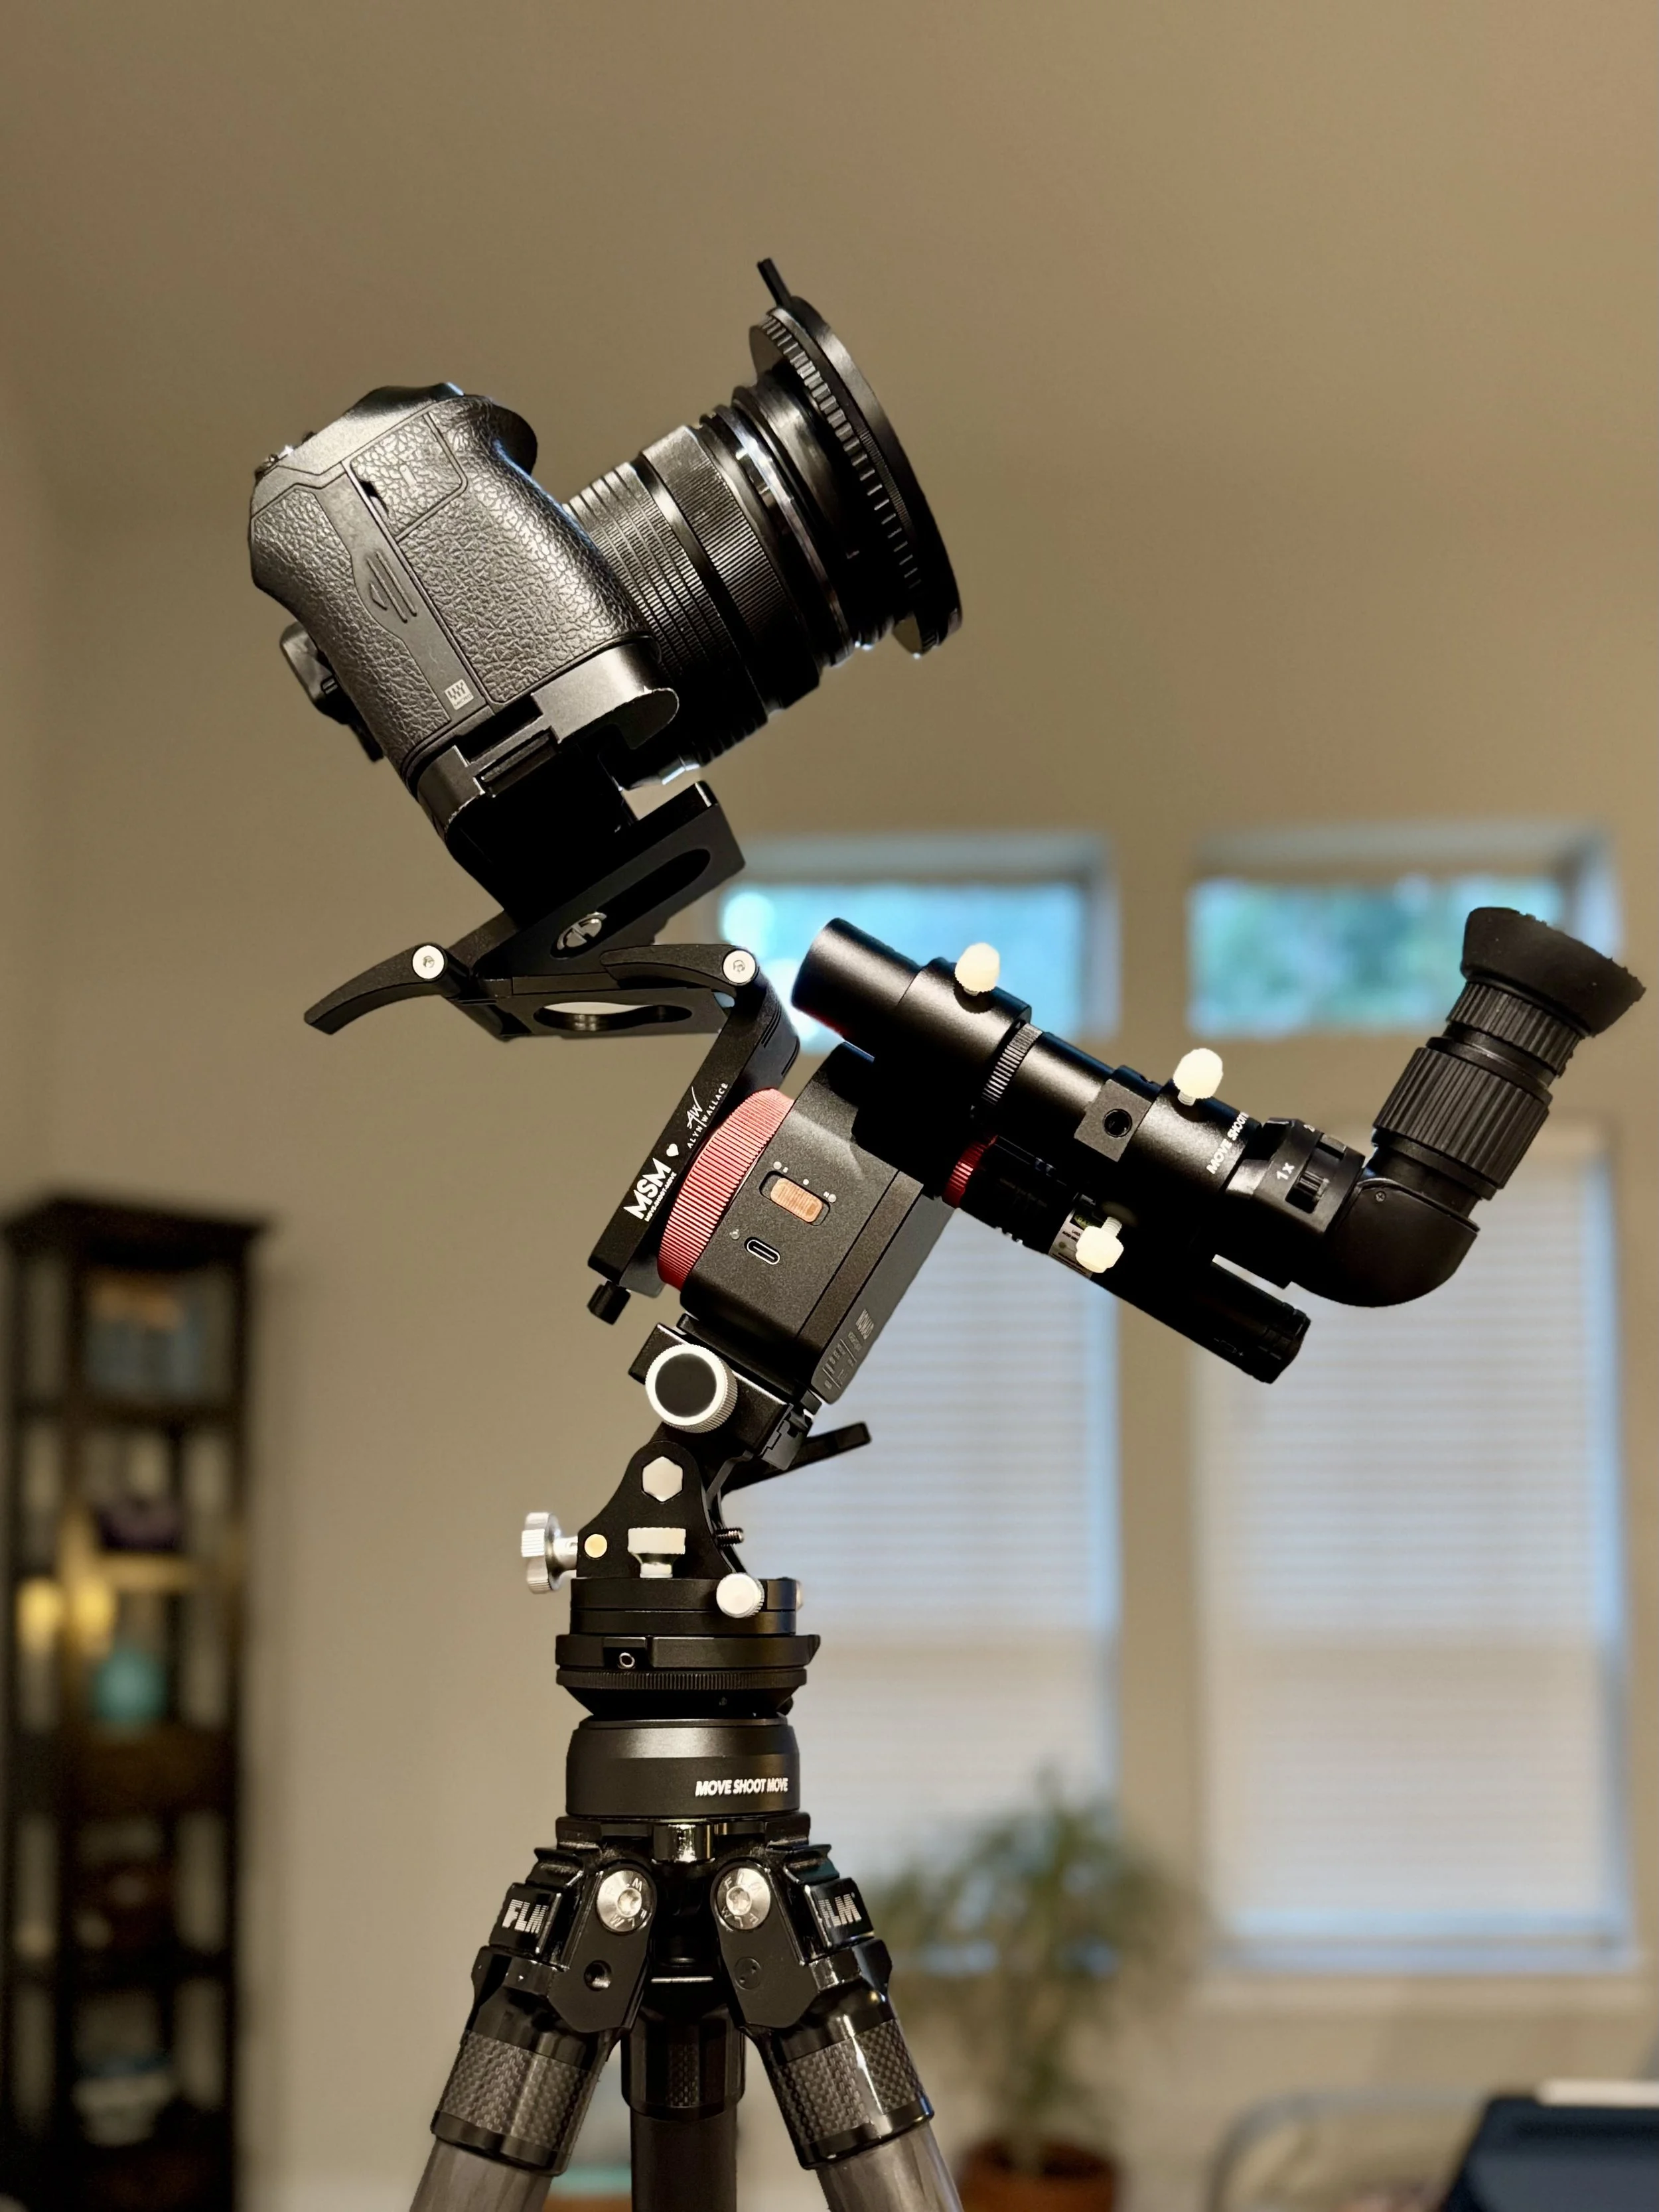
My typical setup for astro photography with my Move Shoot Move Nomad and OM-1
From Bottom to Top:
Tripod
Leveling base
Wedge
MSM Nomad
“Z” bracket
Camera
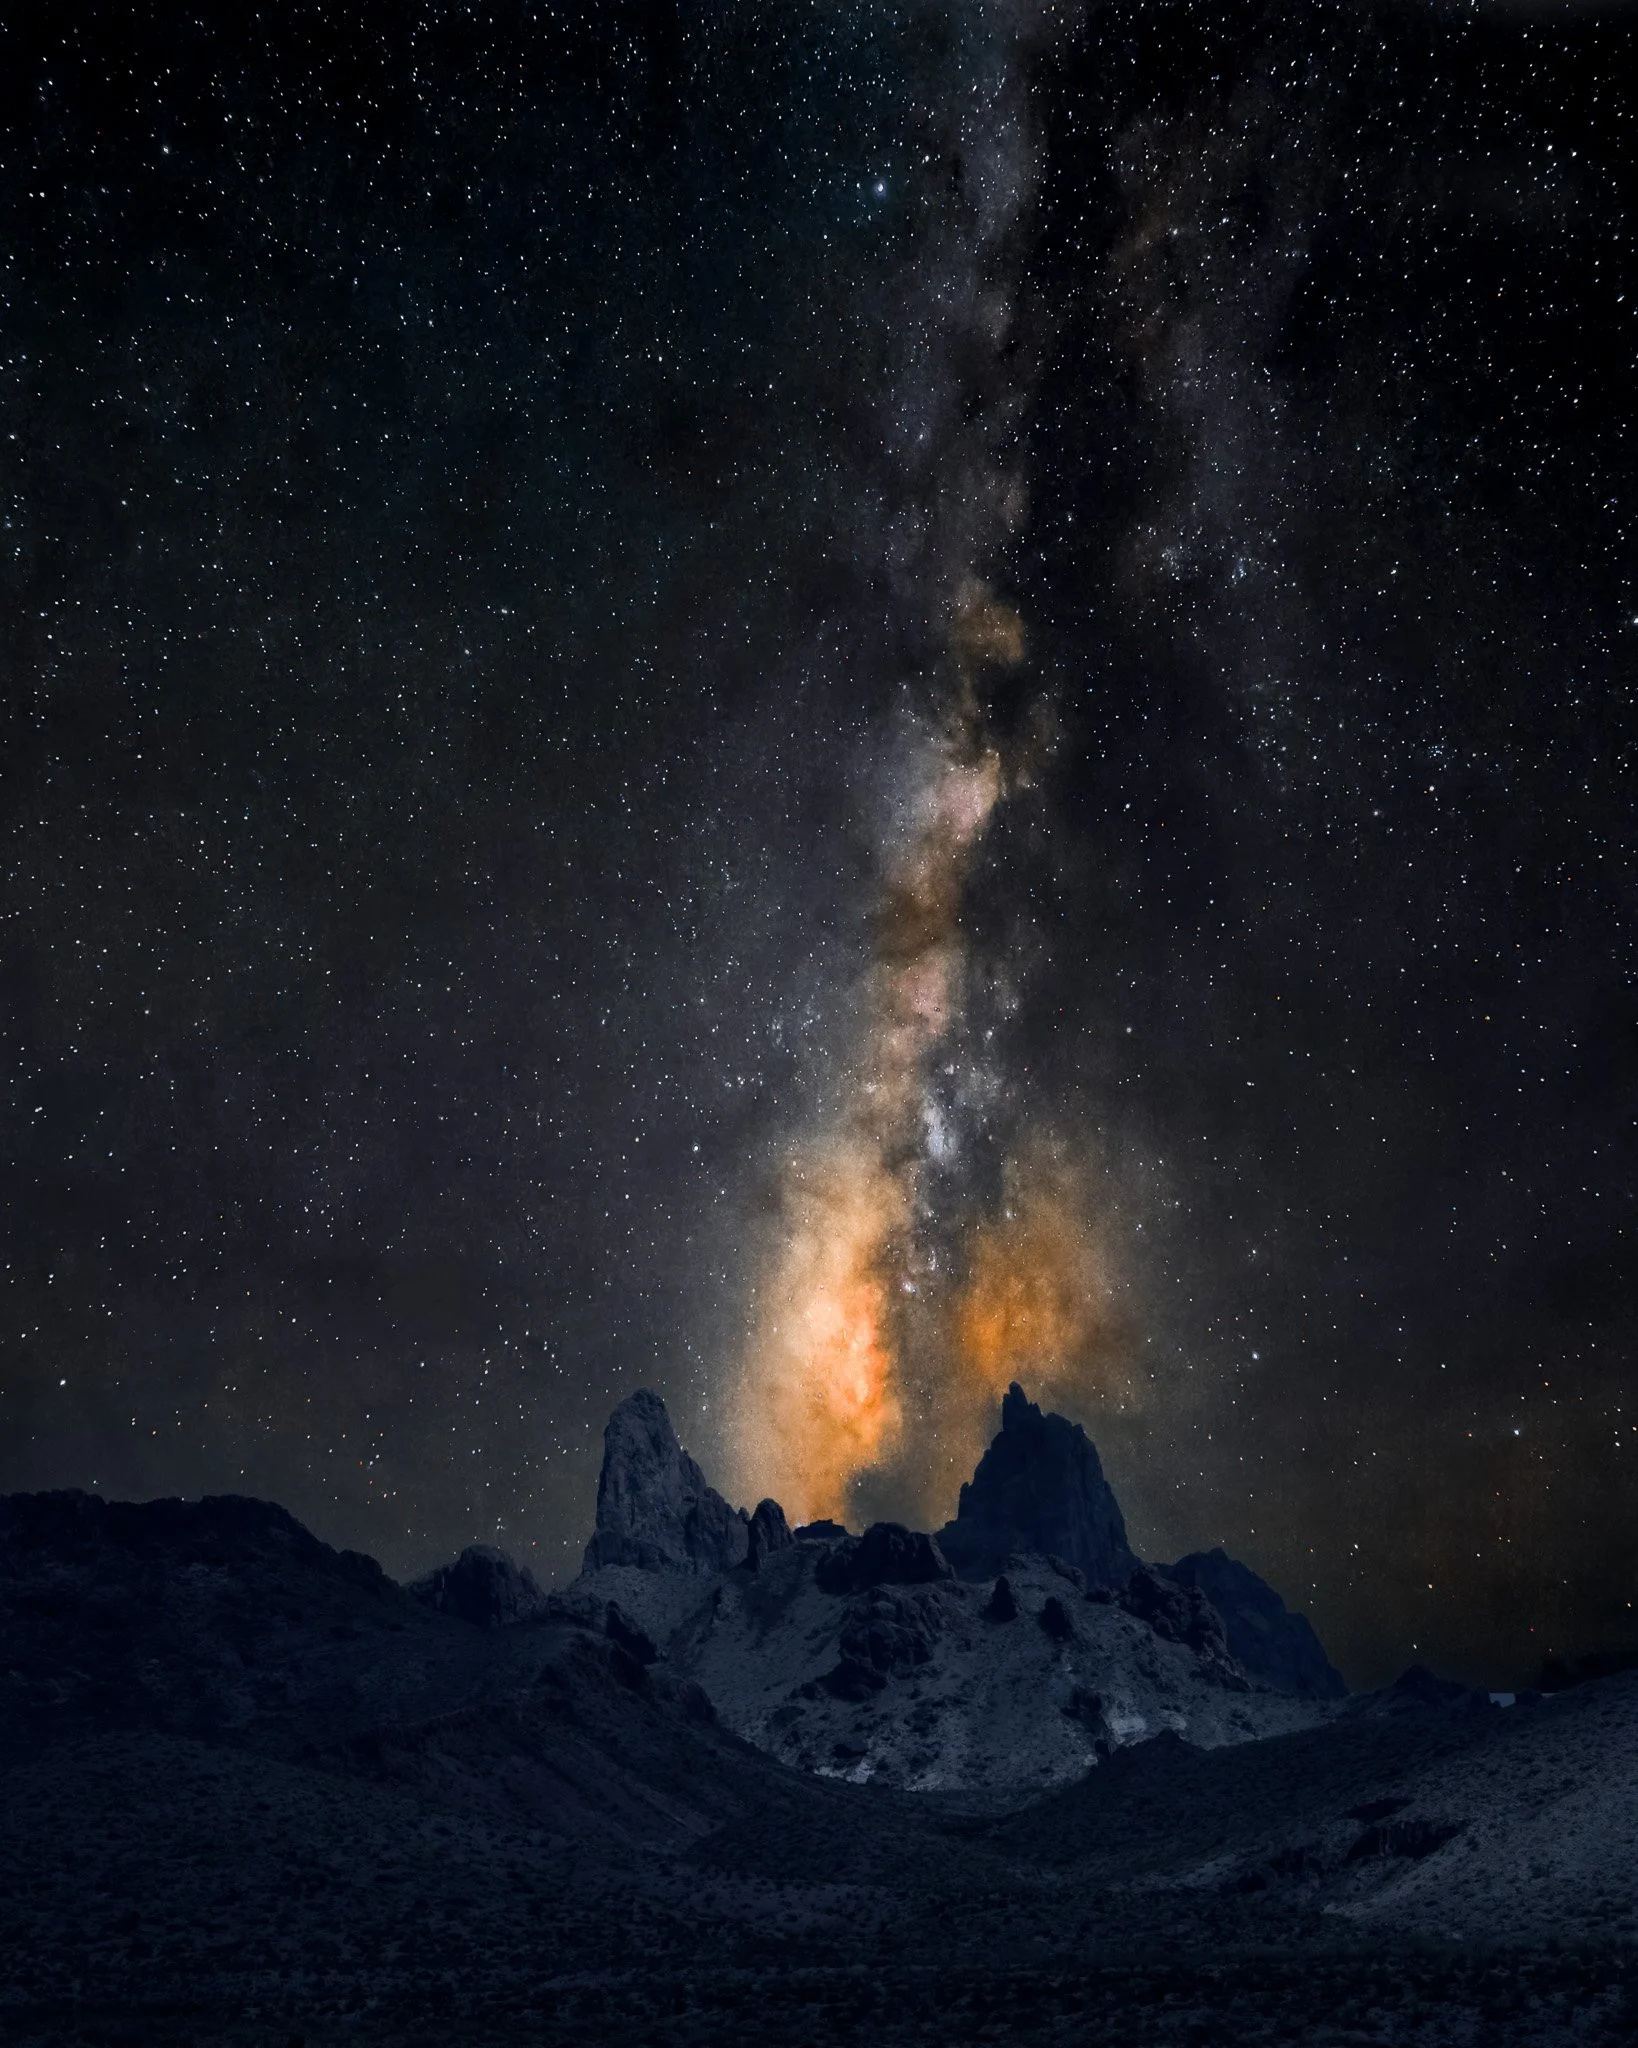
The Nomad is a compact, ultra-portable rotary motor. Once aligned with the celestial pole using an onboard laser and optical polar scope, the Nomad rotates the OM-1 at the exact counter-speed of the Earth's rotation and adjusts for the minor deviation of Polaris from true north to produce absolutely zero star trailing, even with exposure lengths of 3 minutes. Because the camera moves in perfect synchronization with the stars, the night sky appears completely motionless relative to the sensor.
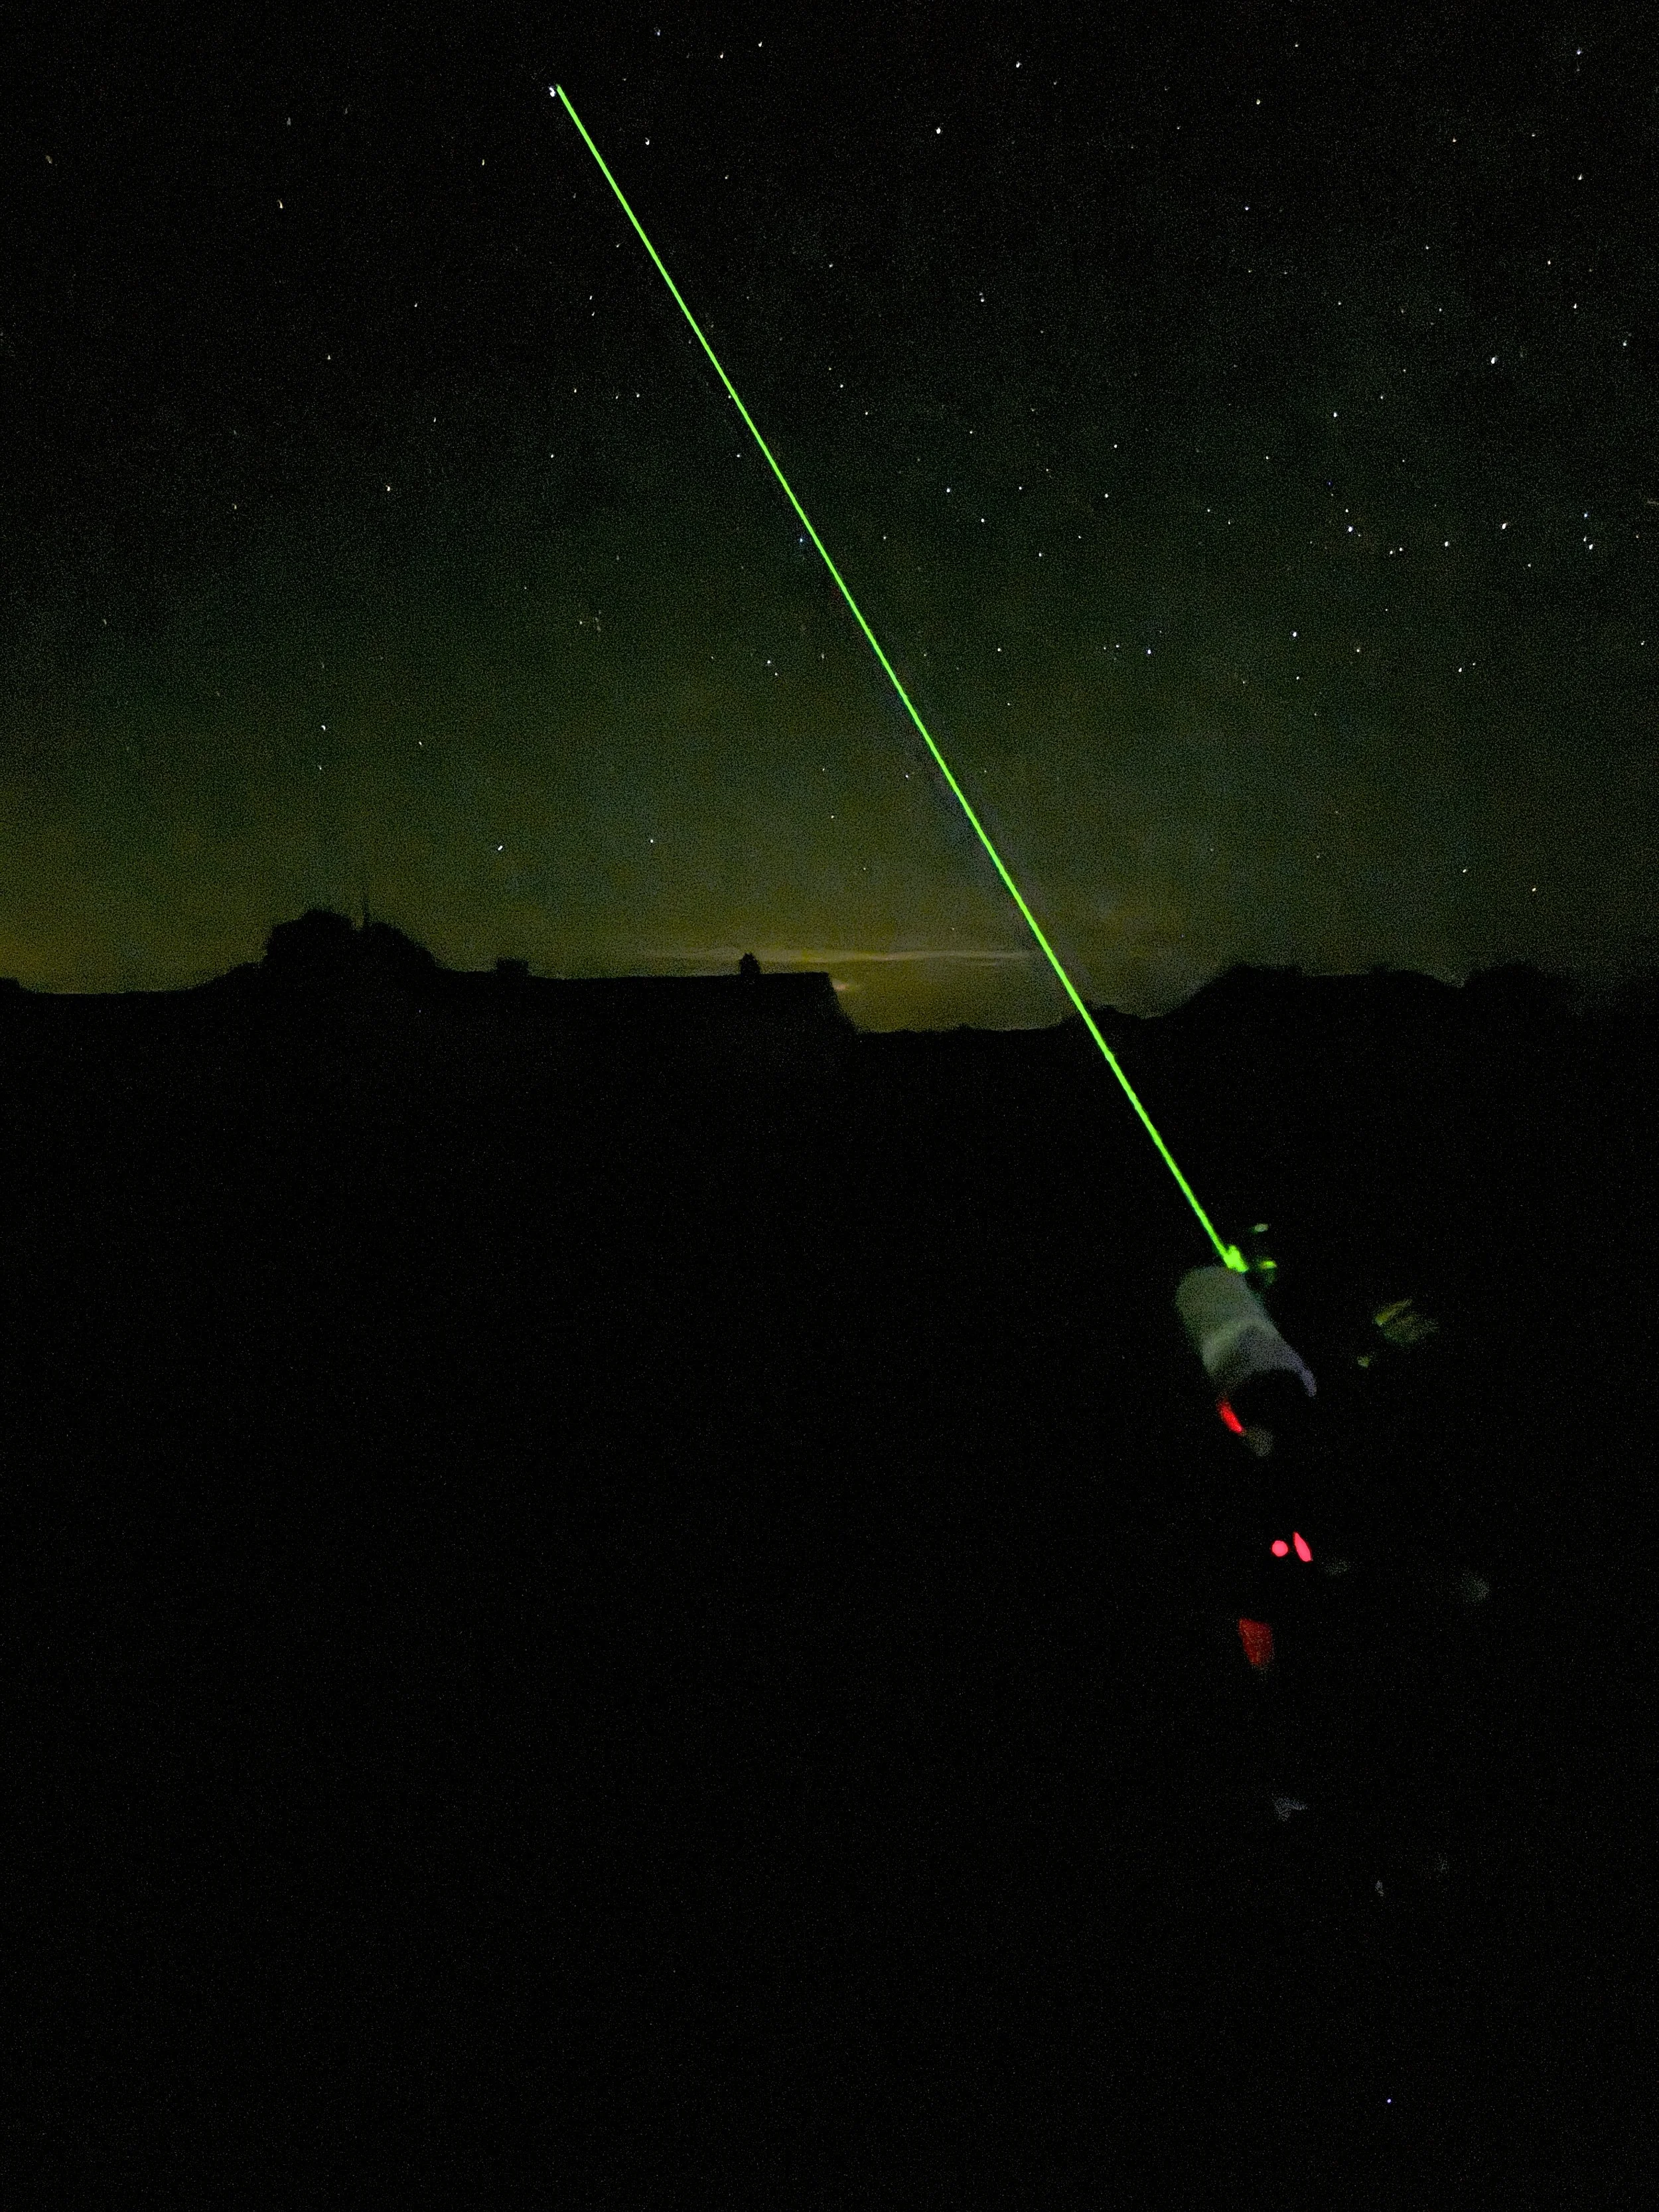
Left image: Polar alignment of the MSM Nomad with laser and polar scope.
Right image:The Milky Way becomes so much more voluminous under the Bortle 1 sky of Big Bend National Park when tracked with the MSM Nomad.
Deep Sky Example Targets & Recommended Camera Settings
By using the MSM Nomad tracker paired with the M.Zuiko 40-150mm f/2.8 PRO, you convert your MFT setup into a lightweight, deep-space observatory.
1. The Orion Nebula (M42)
Equipment: OM-1 + M.Zuiko 40-150mm f/2.8 PRO + MSM Nomad Tracker.
Settings: Focal Length: 150mm (300mm equivalent) | Aperture: f/2.8 | ISO: 800 | Exposure: 120 Seconds.
Technique: Engage Starry Sky AF on a bright star in Orion's Belt. With tracking enabled, take a sequence of ten 2-minute exposures. Stacking these frames in post-processing software reveals deep magenta and violet gas clouds swirling around the core stars of M42 without trailing or sensor noise.
2. The Andromeda Galaxy (M31)
Equipment: OM-1 + M.Zuiko 40-150mm f/2.8 PRO + MSM Nomad Tracker.
Settings: Focal Length: 40–70mm (80–140mm equivalent) | Aperture: f/2.8 | ISO: 1600 | Exposure: 180 Seconds.
Technique: Frame M31 using lower magnification to allow space for the galaxy's sprawling outer dust lanes. The tracking motor allows 3-minute exposures at low ISO, revealing distinct spiral arms, bright galactic core, and companion dwarf galaxies with crisp clarity.
7. Best Telephoto Lenses for Micro Four Thirds Landscape Photography
While my 12-100mm f/4 IS PRO covers 90% of my daily daytime work, specialized landscape photography requires telephoto tools to compress distant layers, zero in on distant subjects, and draw background peaks closer.
Telephoto Compression: M.Zuiko 40-150mm f/2.8 PRO (80-300mm Equivalent)
This lens provides a fast, fixed f/2.8 aperture across an extremely versatile telephoto zoom range. It excels at slicing through visual clutter—such as isolating morning fog lifting off a pine forest or capturing light hitting an isolated mountain crest.
Extreme Reach: M.Zuiko 100-400mm f/5.0-6.3 IS Lens (200-800mm Equivalent)
An exceptional option for distant landscape compression and wildlife. Weighing just under 2.5 pounds, this lens offers an enormous 800mm equivalent reach in a package you can shoot comfortably without a monopod. It isolates distant sand dune ridges, volcanic craters, or remote island sea stacks. You can get even greater reach with the M.Zuiko 1.4 teleconverter, but at the expense of losing one f-stop across the entire zoom range and slight softening of the edges of the frame that might require sharpening in post. So now your 800mm reach becomes 1,120mm! It’s not often that I use mine but, because it’s small, weatherproof and lightweight, does have a place in my bag.
8. Lightweight Camera Gear for Senior Photographers & Outdoor Hiking
At 77 years old, my physical endurance is a real consideration when selecting gear. Photography is about being present at the right spot when the light breaks. If your pack is too heavy, you stay closer to the car, skip the extra mile up the ridge, and miss the shot. You know the old saying; f8 and be there!
TOTAL WEIGHT FOR COMPLETE MULTI-LENS SYSTEM:

OM SYSTEM FIELD KIT (OM-1 + 5 LENSES and teleconverter)
[4.06 kg / 8.95 lbs]

FULL-FRAME EQUIVALENT SETUP
[8 kg / 17.64 lbs]
My complete OM SYSTEM field kit contains:
OM SYSTEM OM-1 Body (599g)
M.Zuiko 12-100mm f/4 IS PRO (561g) — My 90% Walkaround Lens
M.Zuiko 7-14mm f/2.8 PRO (534g) — Ultra-wide for Grand Landscapes & Astro
M.Zuiko 12-40mm f/2.8 PRO (382g) — Fast Low-light Standard Zoom
M.Zuiko 40-150mm f/2.8 PRO (760g) — Telephoto Compression & Deep Sky
M.Zuiko 100-400mm f/5.0-6.3 IS (1,120g) — Super-telephoto reach for creative high perspective compression and for wildlife.
M.Zuiko MC-14 Teleconverter (105g)- Compatible with the 40-150 f 2.8 Pro and the 100-400 f 5.0-6.3
Total Bag Weight:~4.06 kg (8.95 lbs).
A similiar full-frame kit providing only 14mm to 400mm coverage with equivalent lenses easily tops 8 kg (17.64 lbs)—and that is before adding a heavy tripod capable of supporting that load. As you see, on the long end the MFT kit has twice the reach, 14-800mm equivalent, of the full frame kit, at half the weight!
With the OM-1's extraordinary 8.5-stop Sync IS, IP53 weather sealing, and long-lasting BLX-1 battery life, I rarely need to carry a tripod for daytime landscapes or a backup battery. I can hike further, stay out longer, focus on my craft, and enjoy the experience without physical strain.
9. Conclusion & Recommended Field Kit
When I glance over at my shelf at the original mechanical film OM-1 from 1978, I smile. That camera was designed by Yoshihisa Maitani to prove that professional tools don't need to be bulky. Decades later, the digital OM SYSTEM OM-1 carries that exact same spirit forward.
Micro Four Thirds is not a compromise; it is an intelligent design choice. It blends rich optical engineering with modern computational features—like Handheld High Res, Live ND, Starry Sky AF, and Live Composite—to make challenging photography intuitive, creative, and accessible.
My Recommended Gear Checklist:
Use the links to check current prices. I own and use all the items below
Camera Body:OM SYSTEM OM-1 (Stacked BSI Sensor, 8.5-stop IBIS, IP53 Weather Sealing)
The 90% Everyday Workhorse:M.Zuiko 12-100mm f/4 IS PRO (24-200mm Equivalent, Sync IS)
The Ultra-Wide Grand Landscape & Astro Lens:M.Zuiko 7-14mm f/2.8 PRO (14-28mm Equivalent)
The Fast Low-Light Zoom:M.Zuiko 12-40mm f/2.8 PRO (24-80mm Equivalent)
The Telephoto & Deep Sky Lens:M.Zuiko 40-150mm f/2.8 PRO (80-300mm Equivalent)
The Extreme Super-Telephoto:M.Zuiko 100-400mm f/5.0-6.3 IS (200-800mm Equivalent)
The Inexpensive, Range Extending MC-14 Teleconverter
The Deep Sky Star Tracker:Move Shoot Move (MSM) Nomad Star Tracker
Carbon Fiber FLM CP 30 LII Tripod Legs
Whether tracking the deep red gases of the Orion Nebula across the winter night sky with my MSM Nomad tracker or capturing misty landscapes at dawn with my 12-100mm f/4 PRO, this system empowers me to keep creating without compromise.
If you have spent years assuming Micro Four Thirds was just a toy, I invite you to put bias aside and look at what this gear can actually deliver. Your back—and your photography—will thank you for it.
Here’s to staying curious, chasing the light, and looking forward to the next advancements in MFT technology!
Explore More of My Adventures
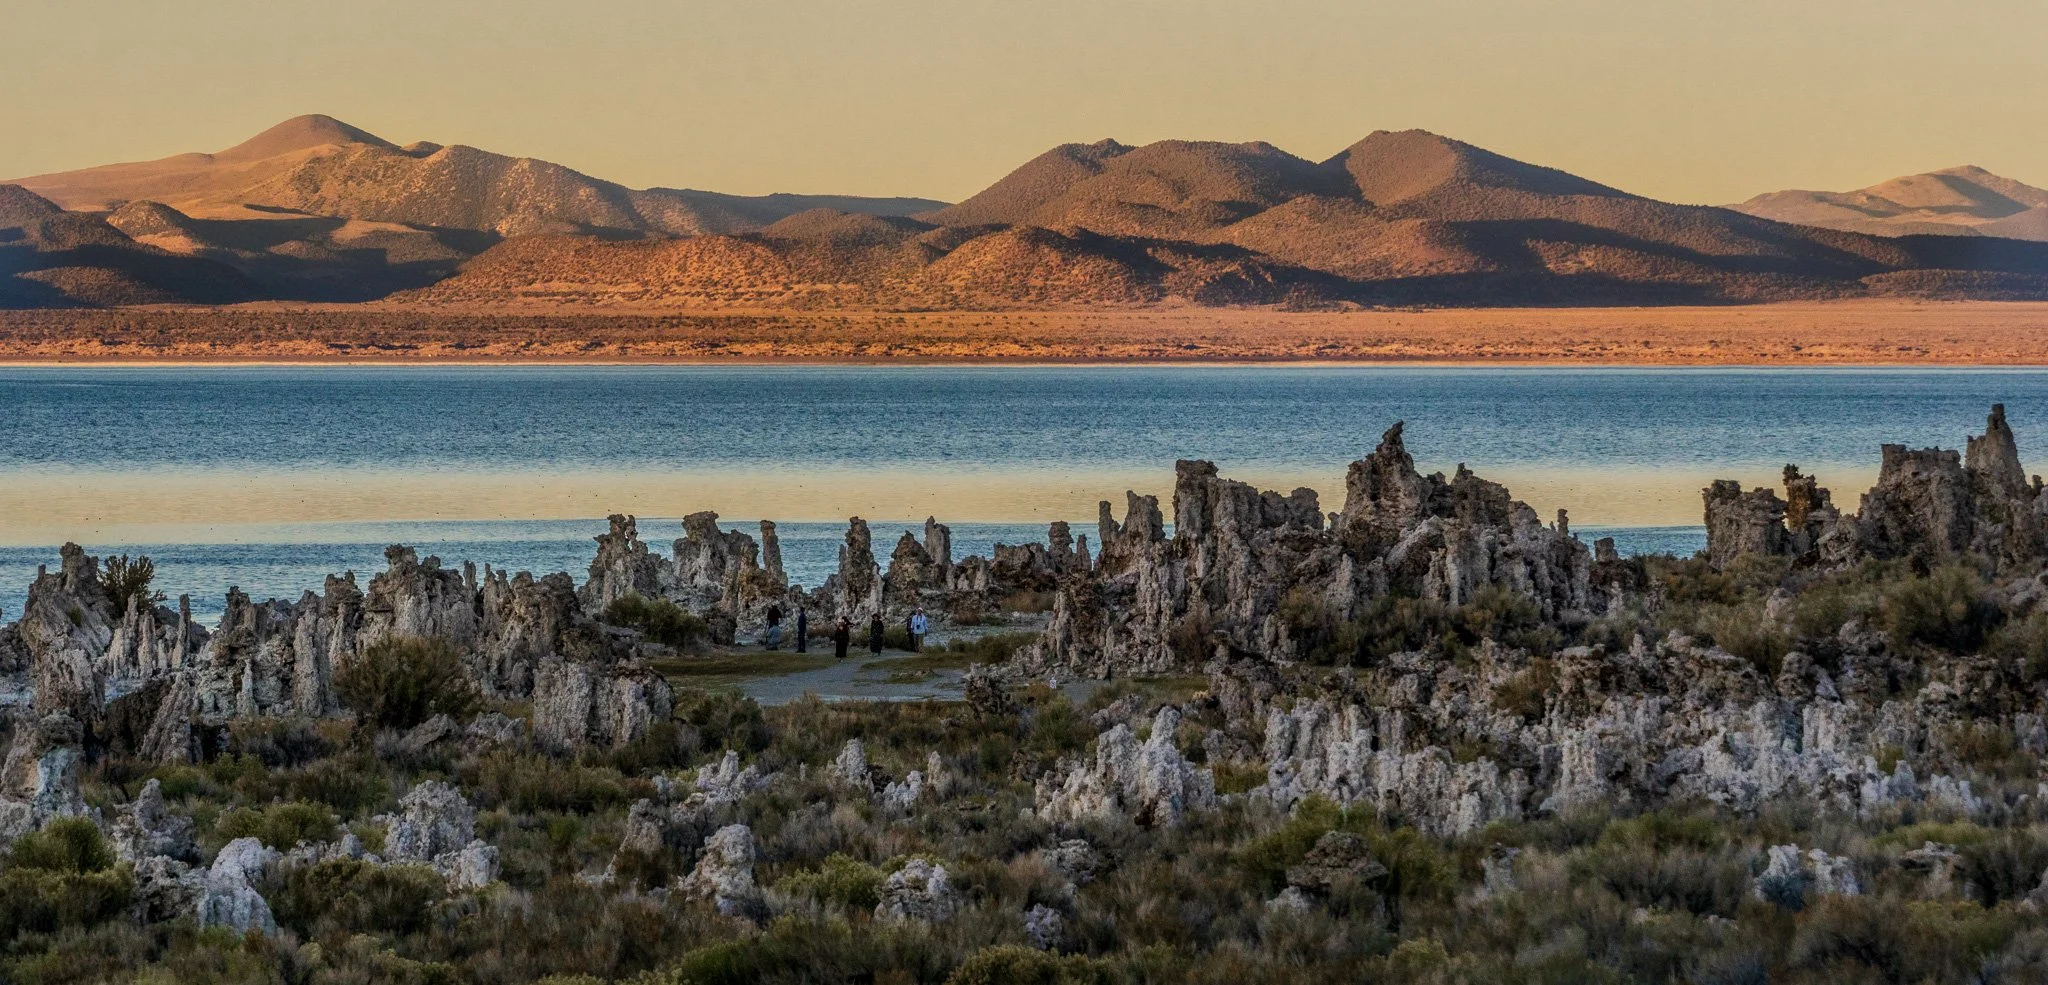
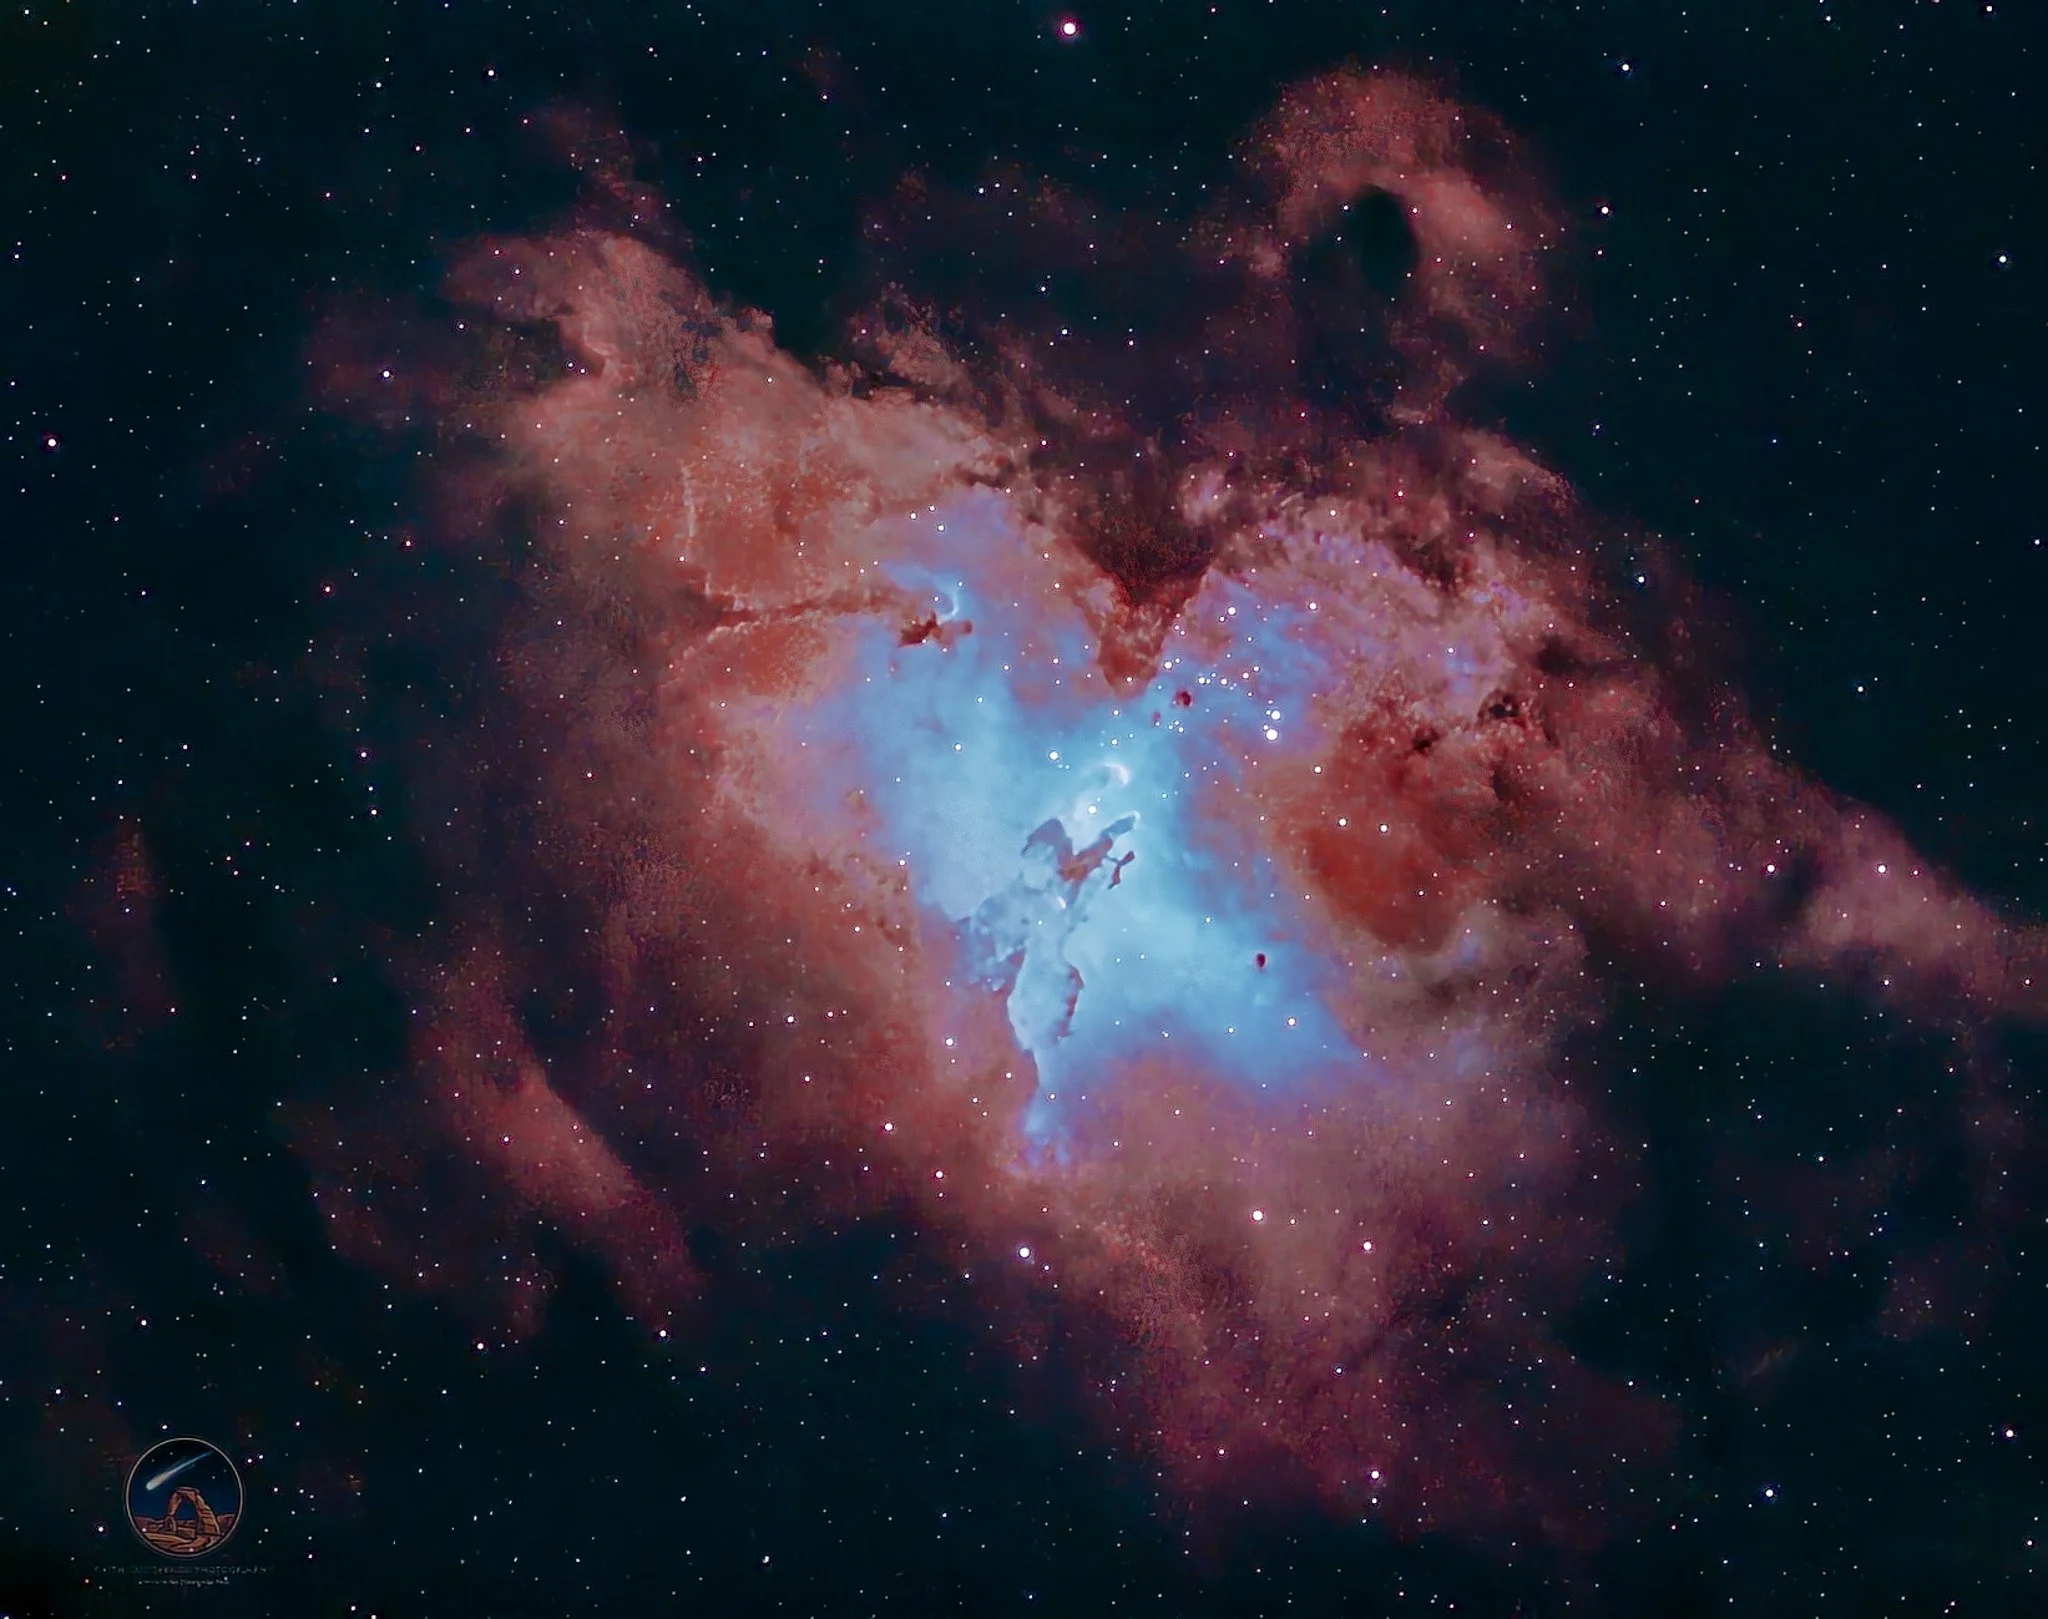
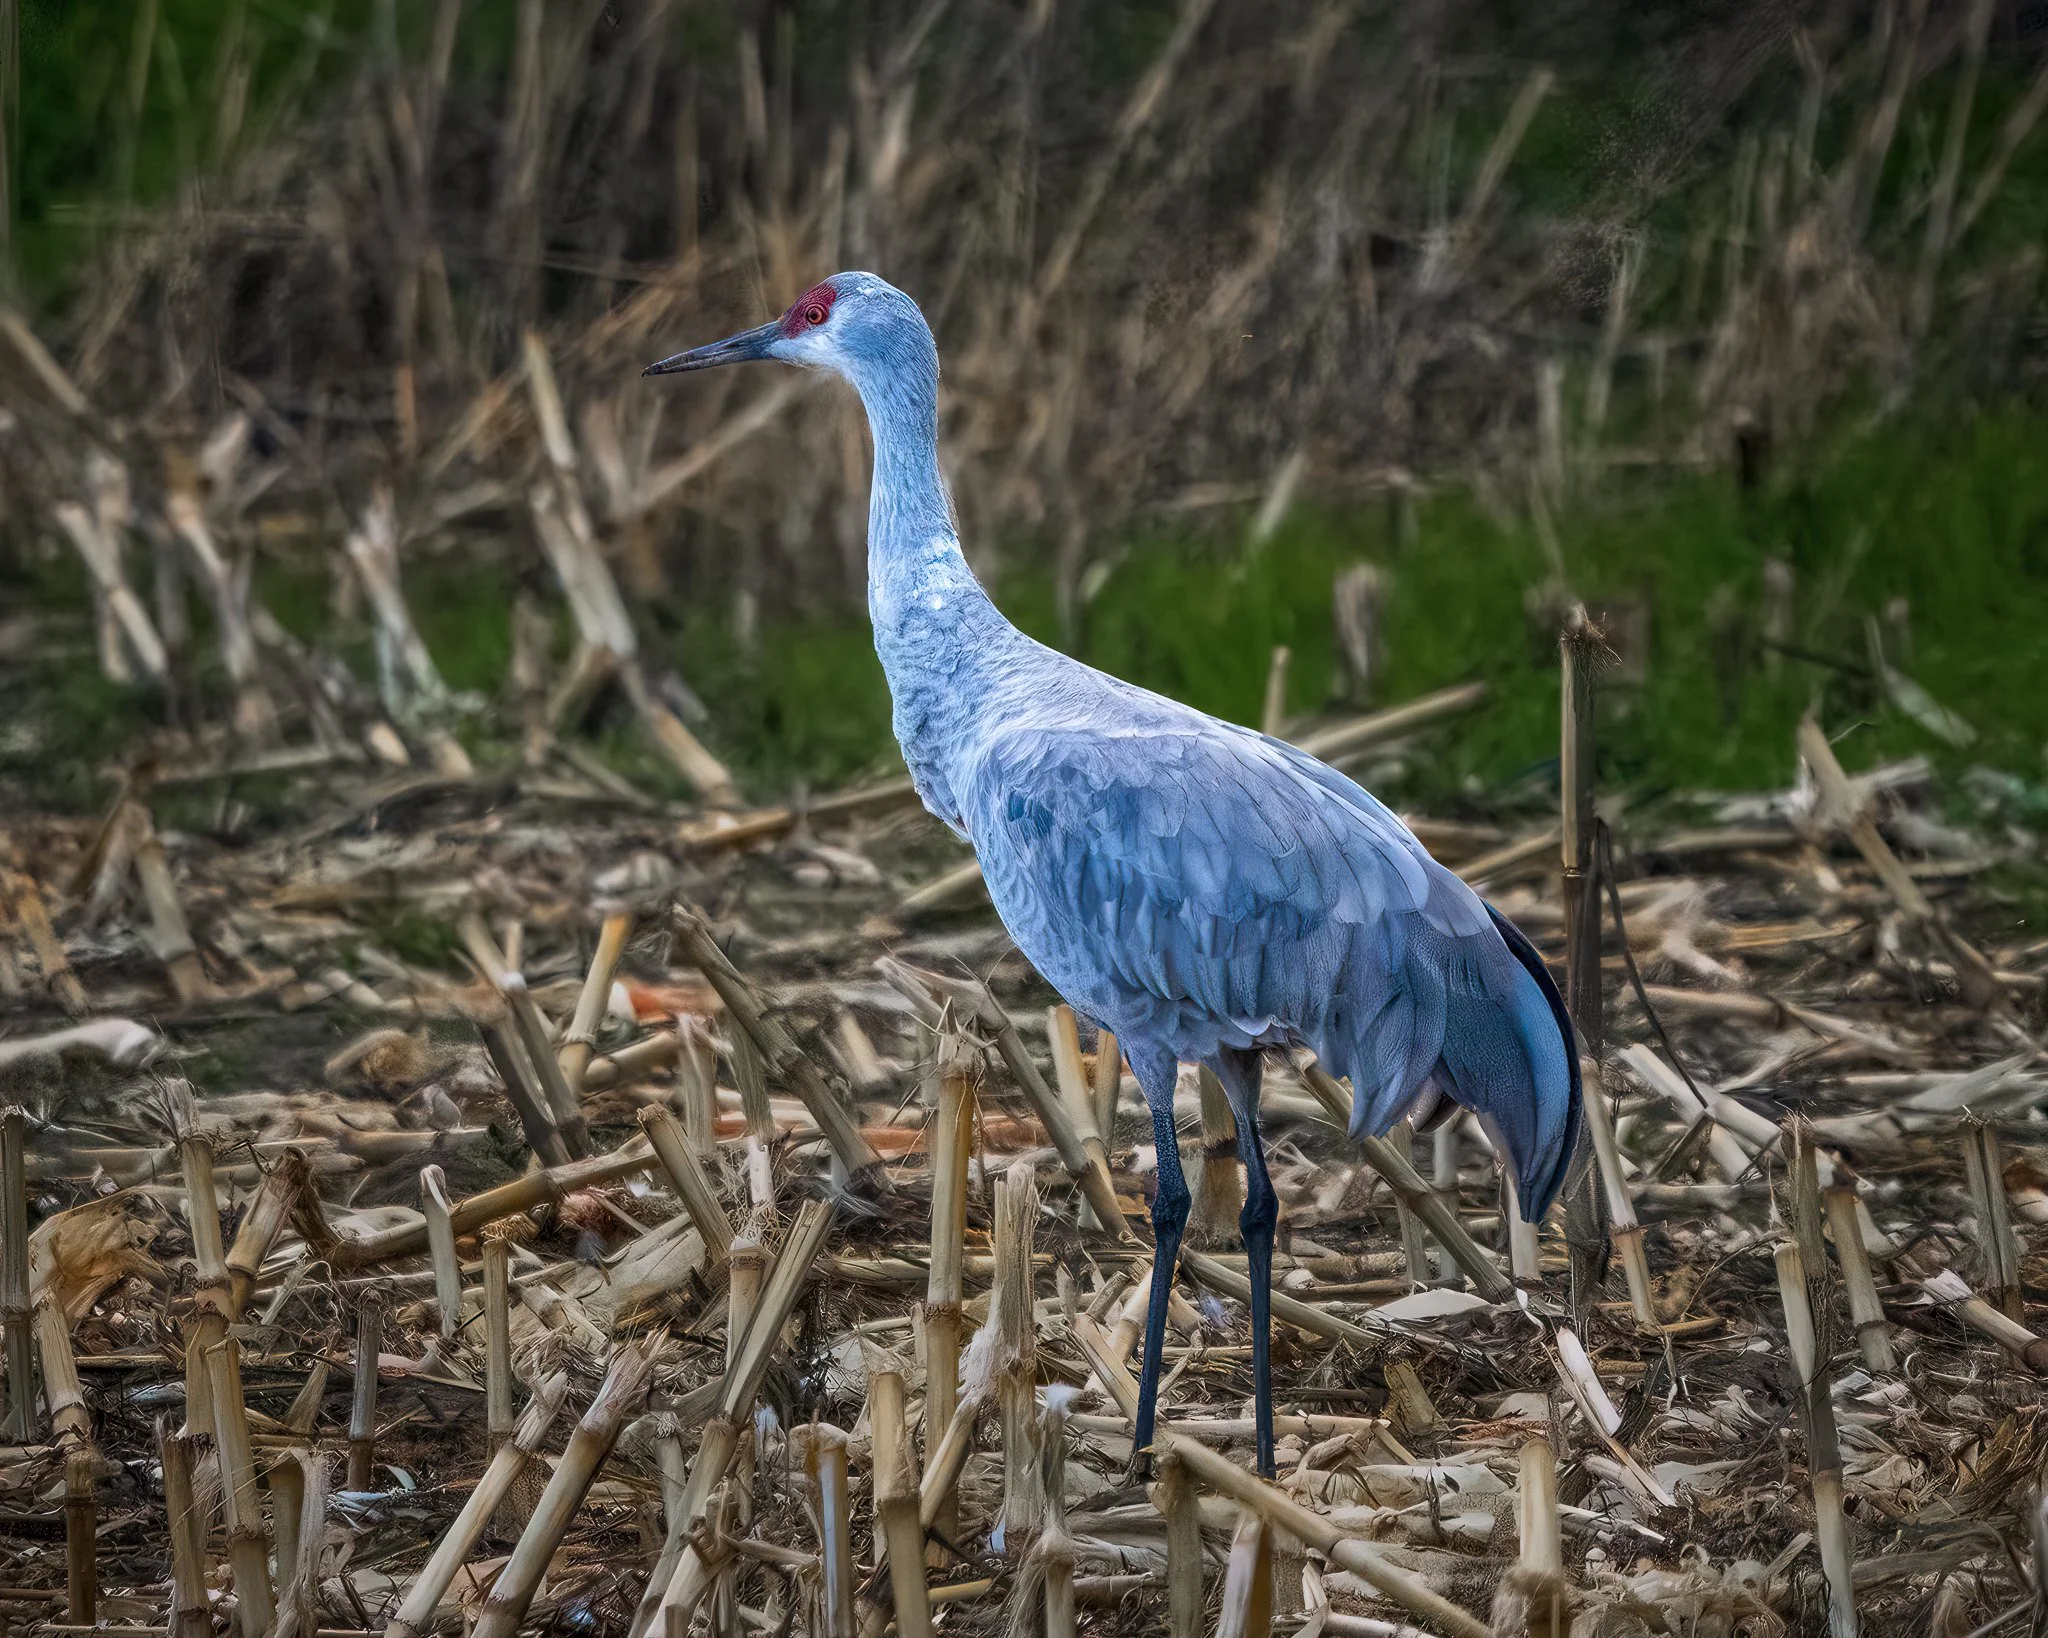
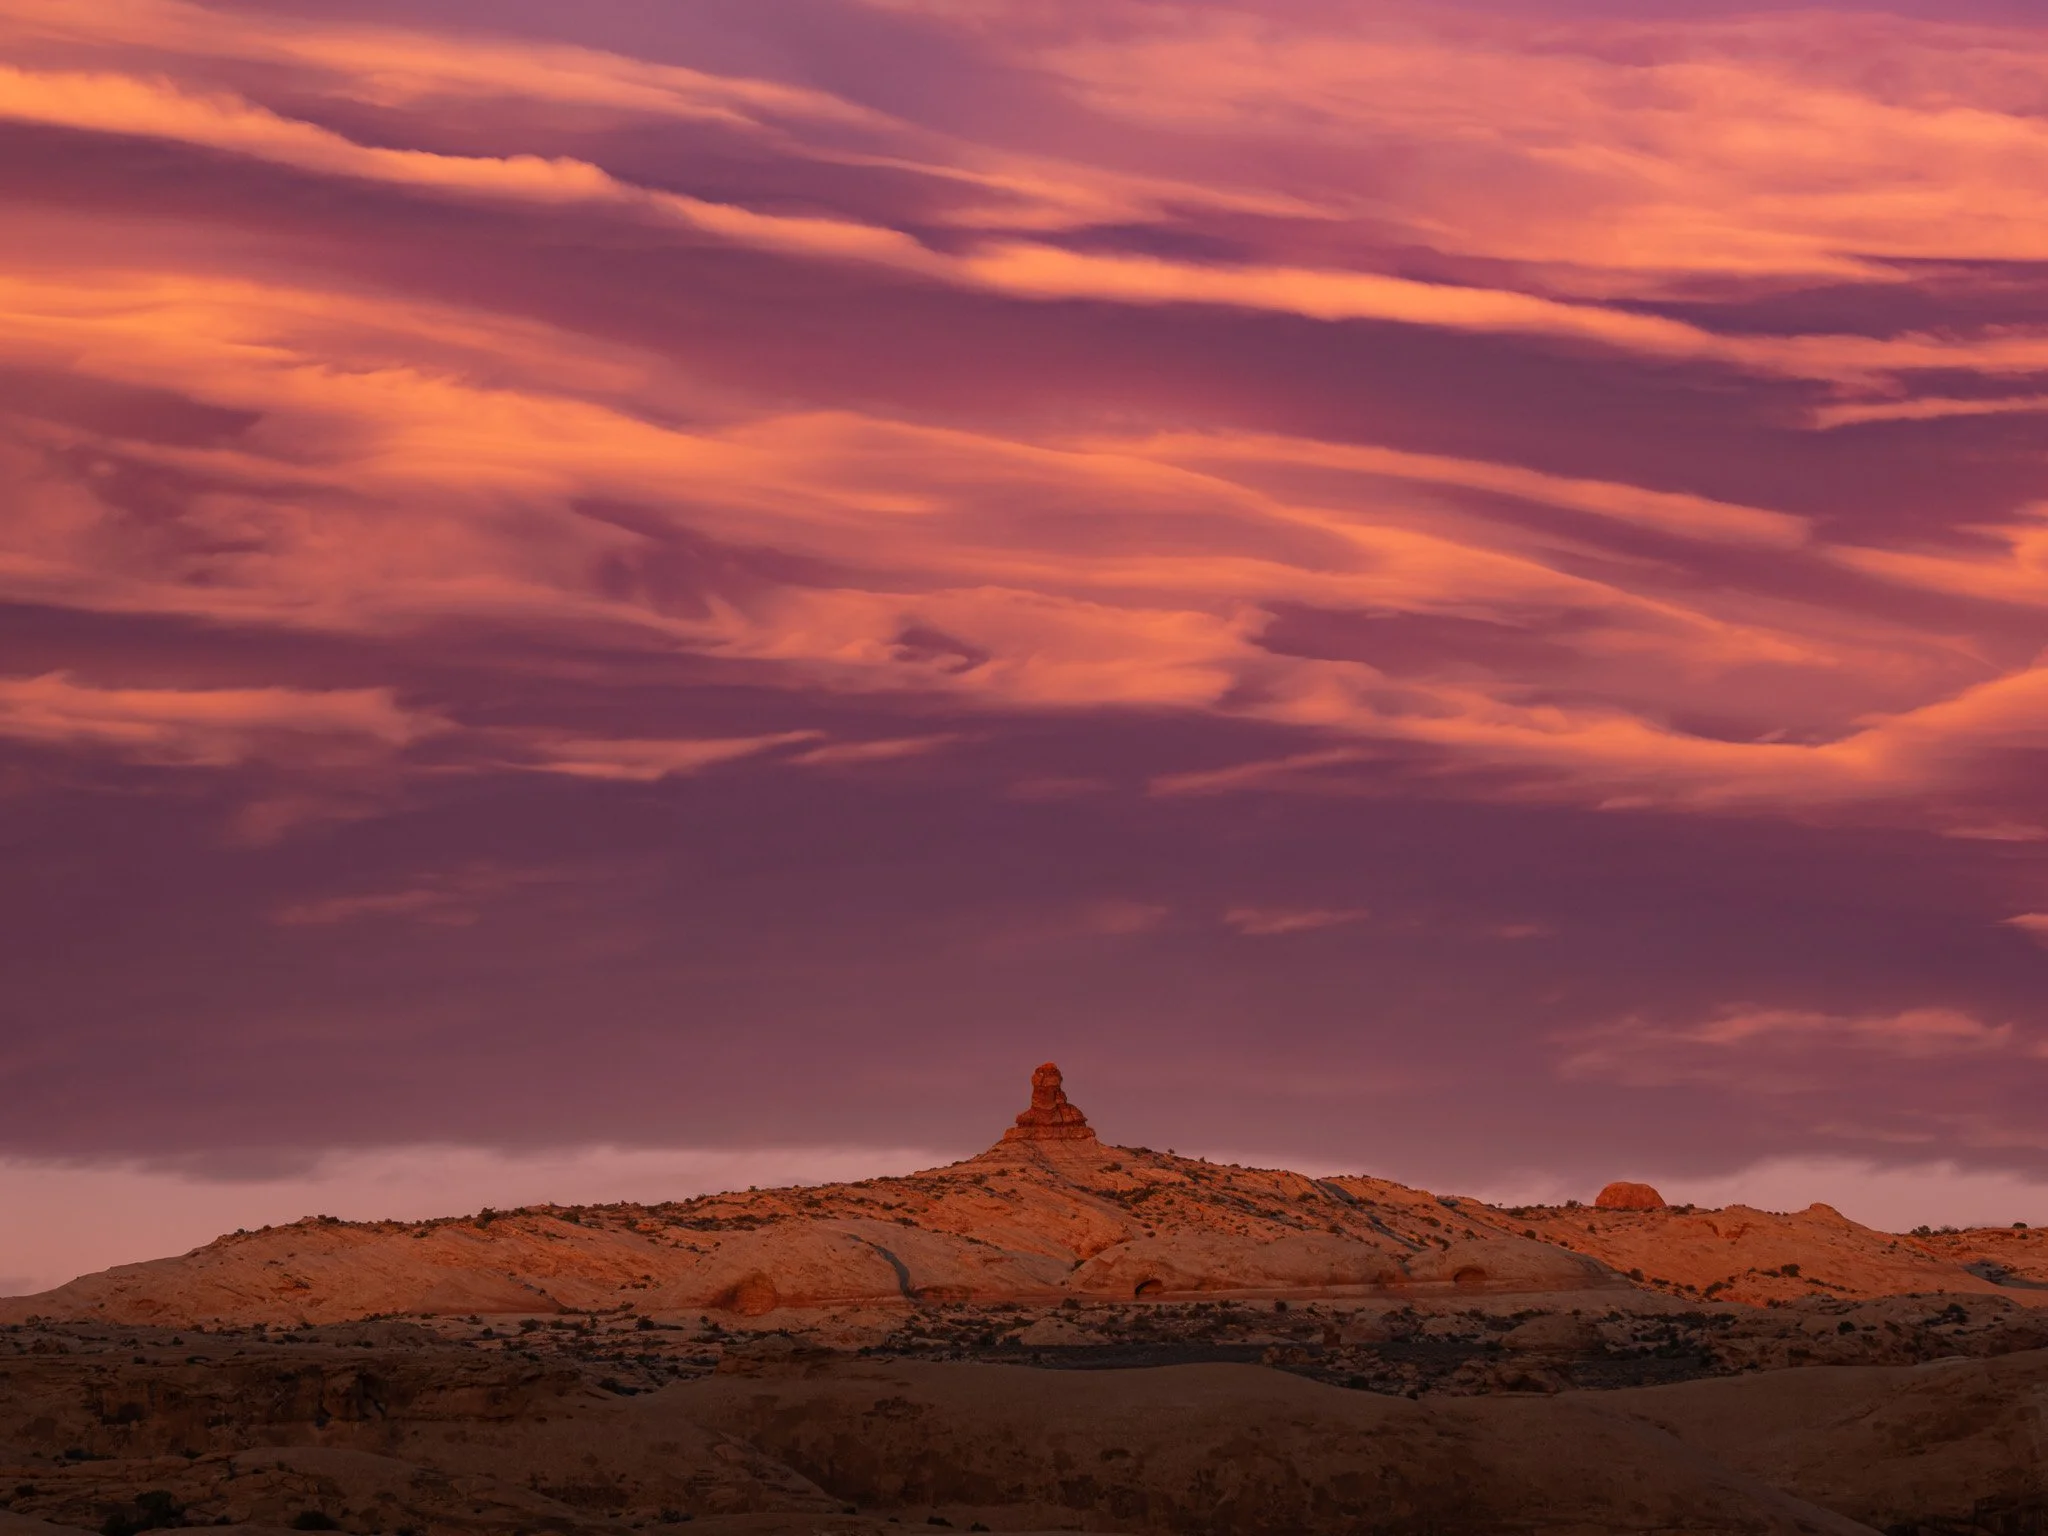
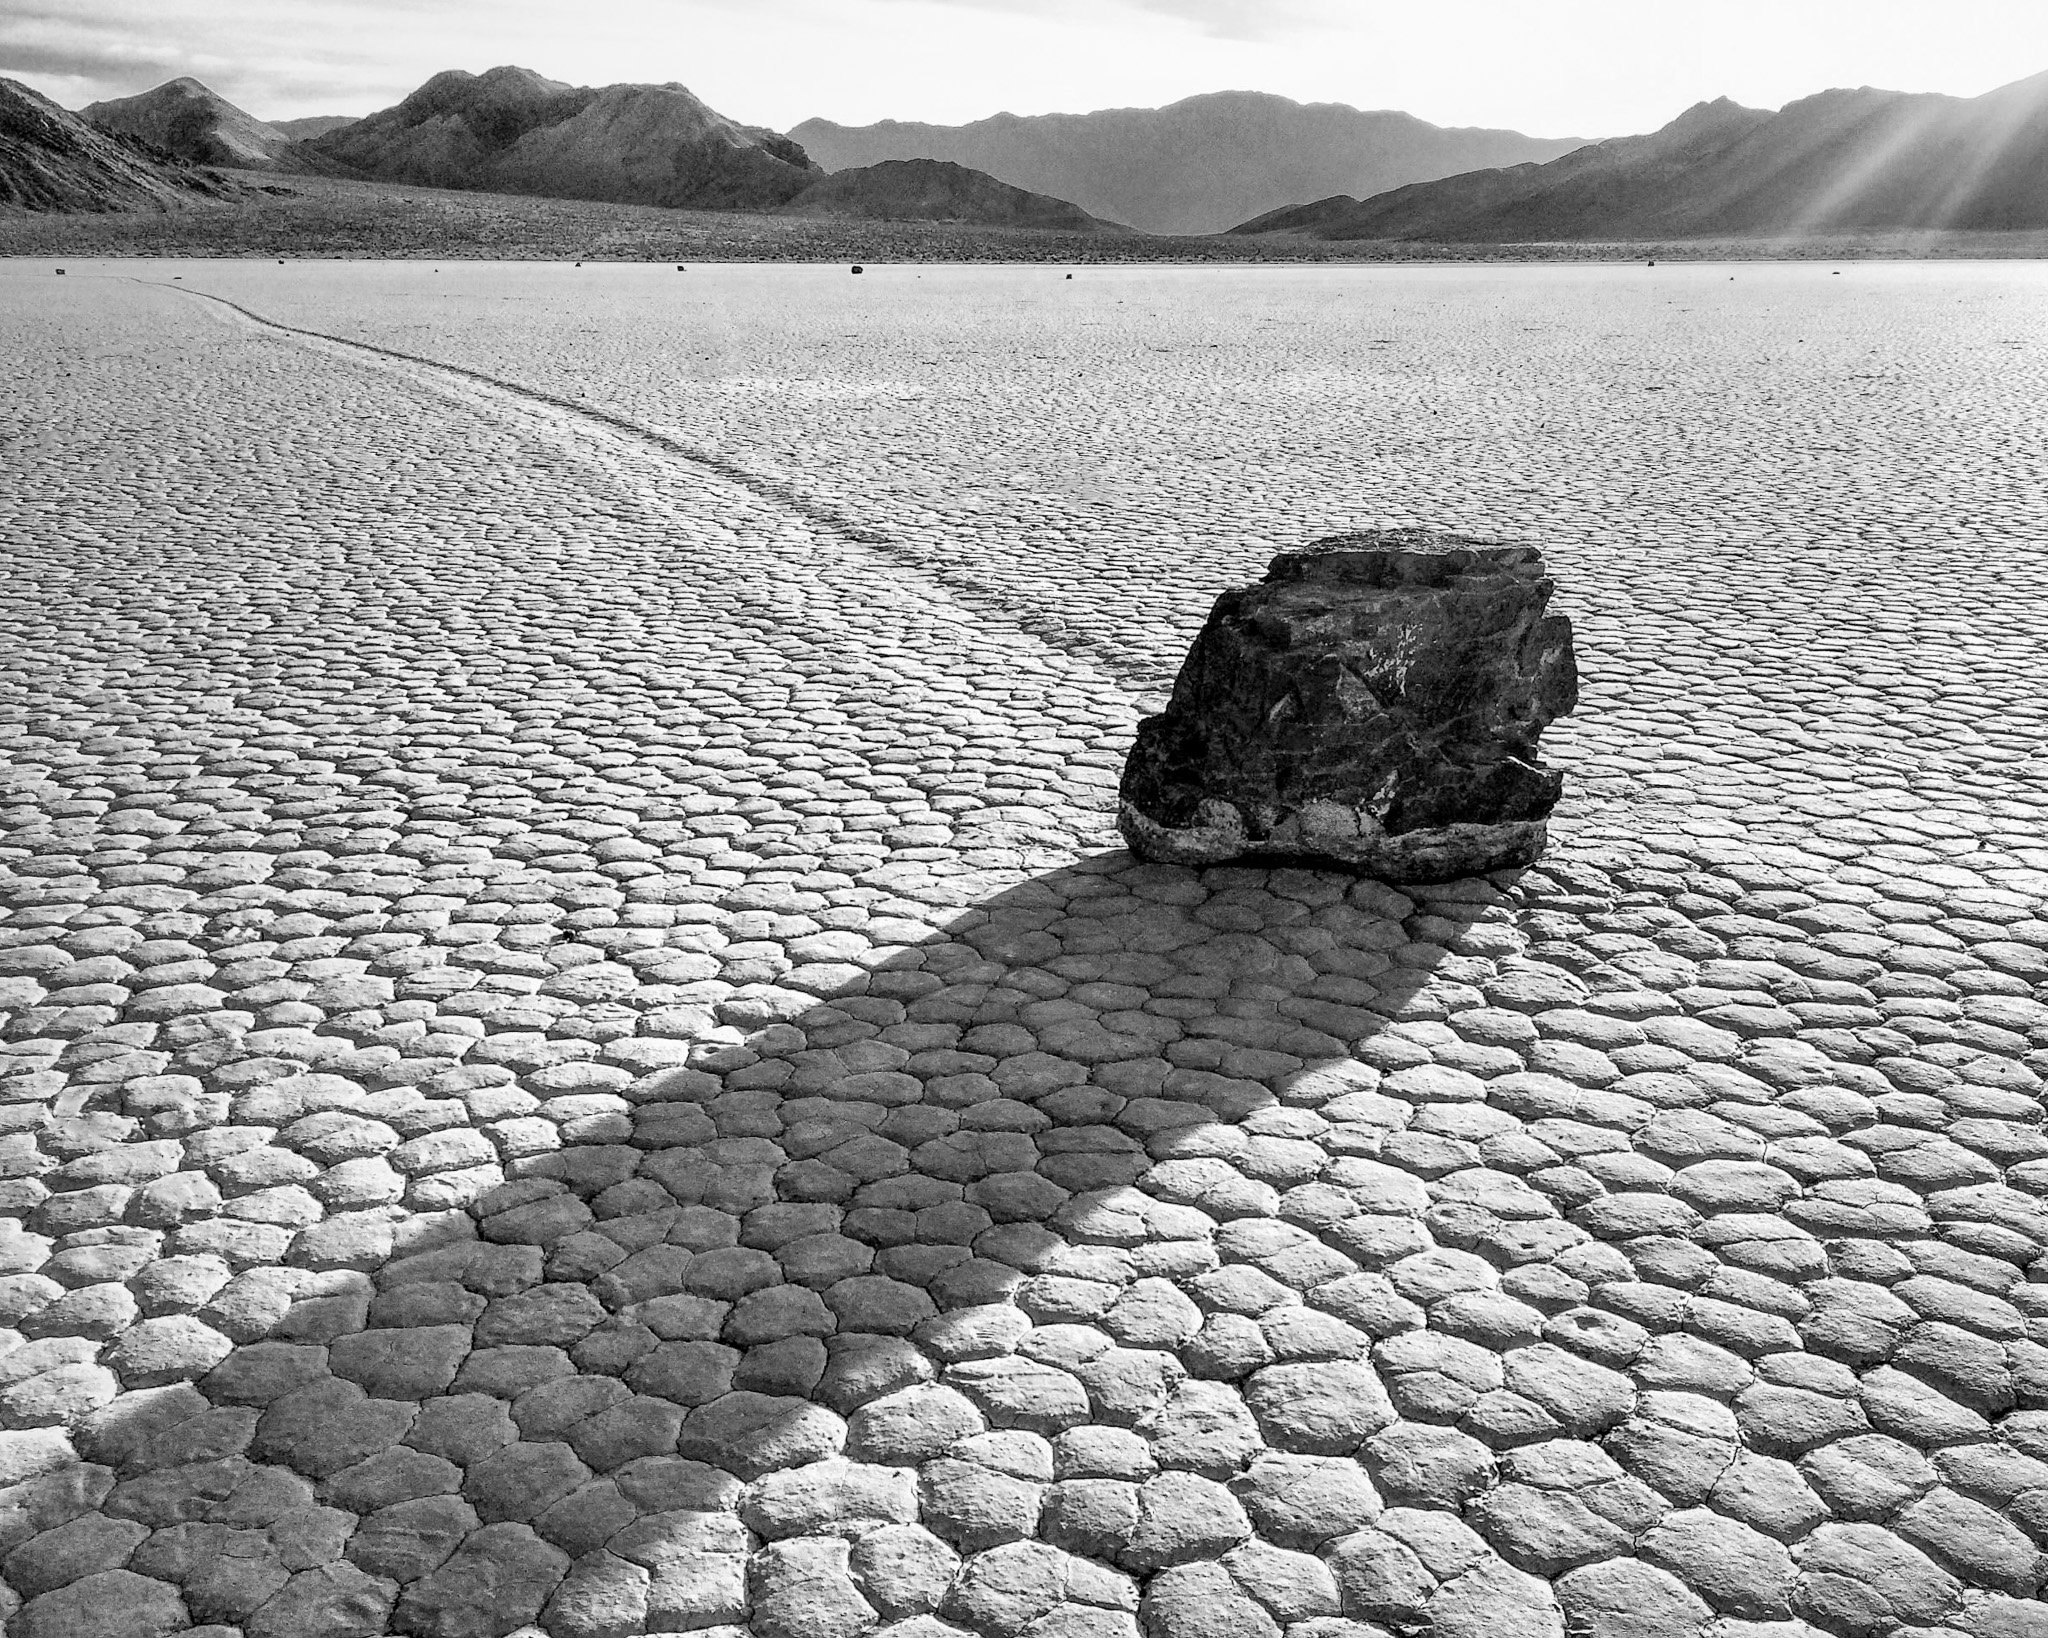
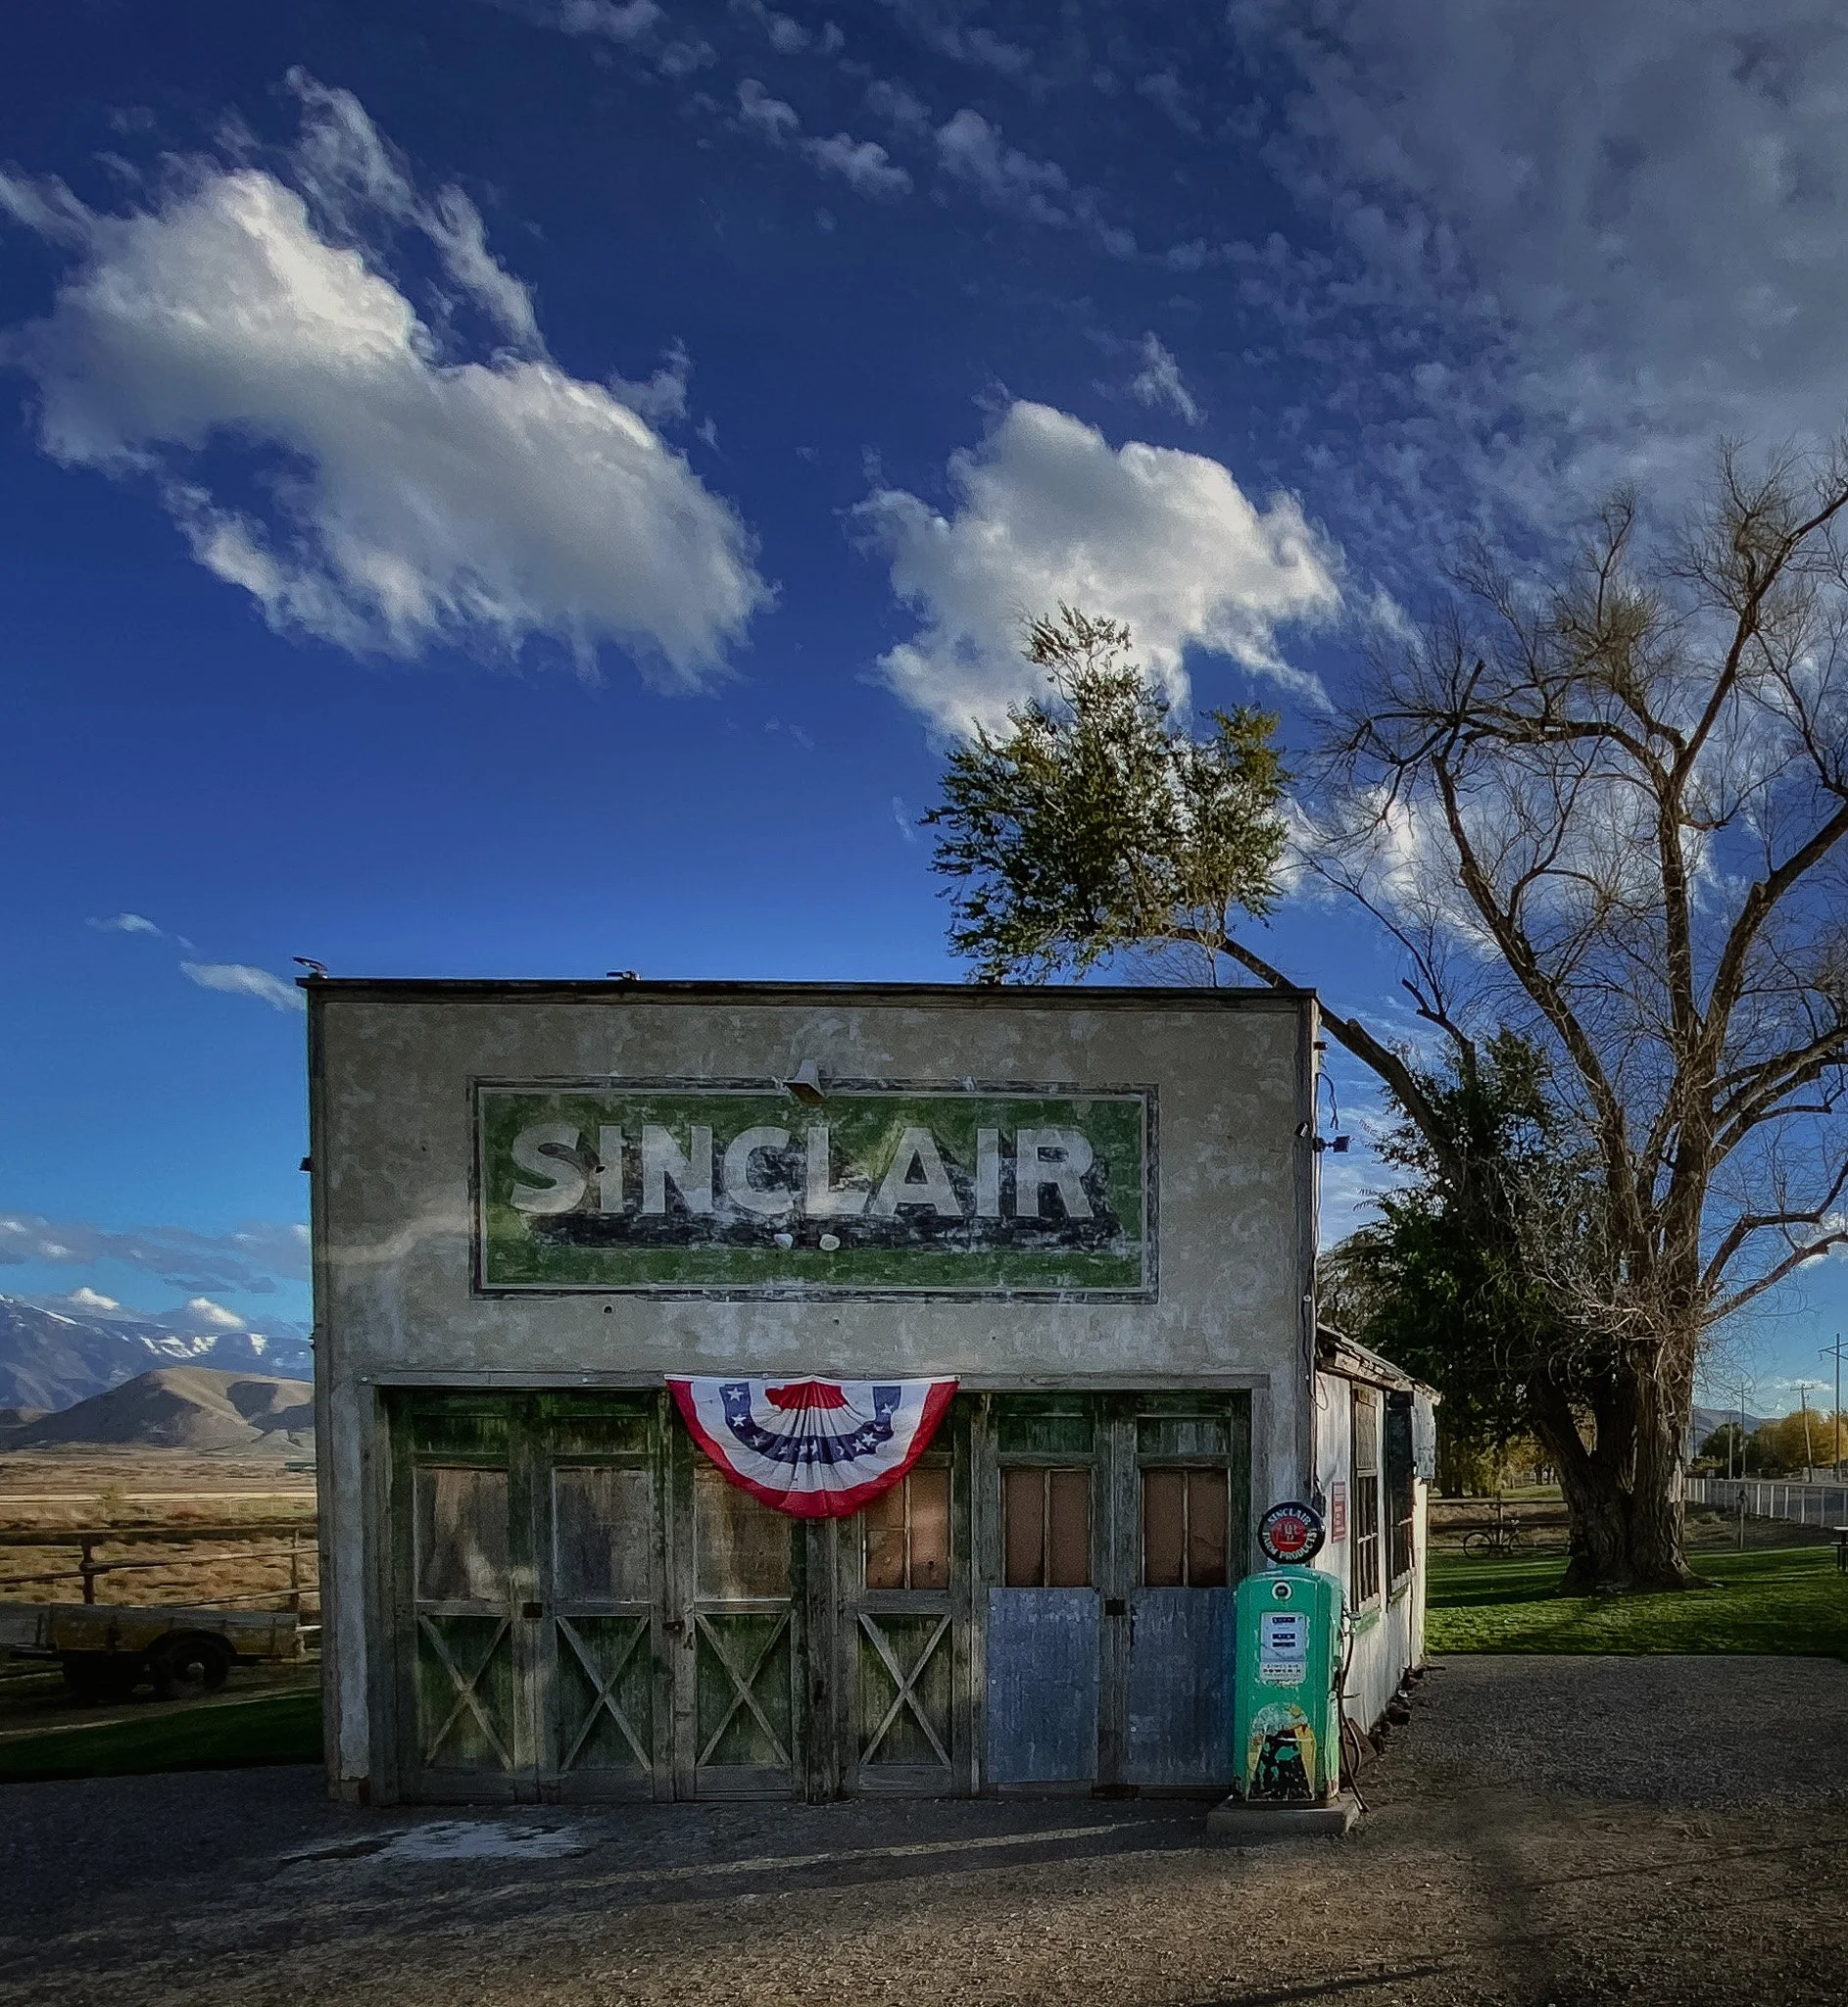
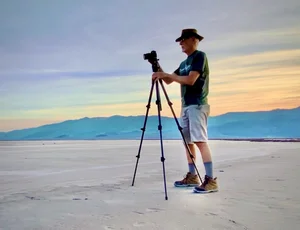
Dismissed by many as a "toy," Micro Four Thirds offers unmatched portability, 8.5-stop stabilization, and game-changing computational tools. From developing film in a cramped 1970s bathroom darkroom to tracking deep-space nebulae under frozen midnight skies at age 77, here is why the digital OM System OM-1 and M.Zuiko PRO glass remain my ultimate professional field setup.